15 things to do after installing Linux Mint
Once you have installed Linux Mint you will probably wonder what to do next. In this post, I will show you 15 things to do after installing Linux Mint. These 15 things will improve your system responsiveness, prevent some possible issues, make your system more secure and optimize the usability of your system.
Linux Mint is the most user-friendly Linux distribution. Everything is well configured by default in Linux Mint. You can use it as it is and you will be absolutely fine. However, if you make the changes you will find in this post, I assure you that you will have a better experience using the system. Let’s get started!
You can watch a video tutorial or continue reading.
And we start with the thing number one, configure the Update Manager.
1. Configure Update manager
The first thing you should do after installing Linux Mint is to configure its Update Manager. The Linux Mint Update Manager is simply excellent and it’s one of the best you’ll find in any Linux distribution. However, there are a few things you can do to improve its performance and also to customize it for your needs.
Set the faster mirror
To download updates, the Linux Mint installer chooses the default mirror in your country, which may not be the faster for you. So, make sure you are using the faster mirror. Besides, sometimes the rank of the servers can change, so you can periodically go to the settings and check if you are still using the fastest mirrors.
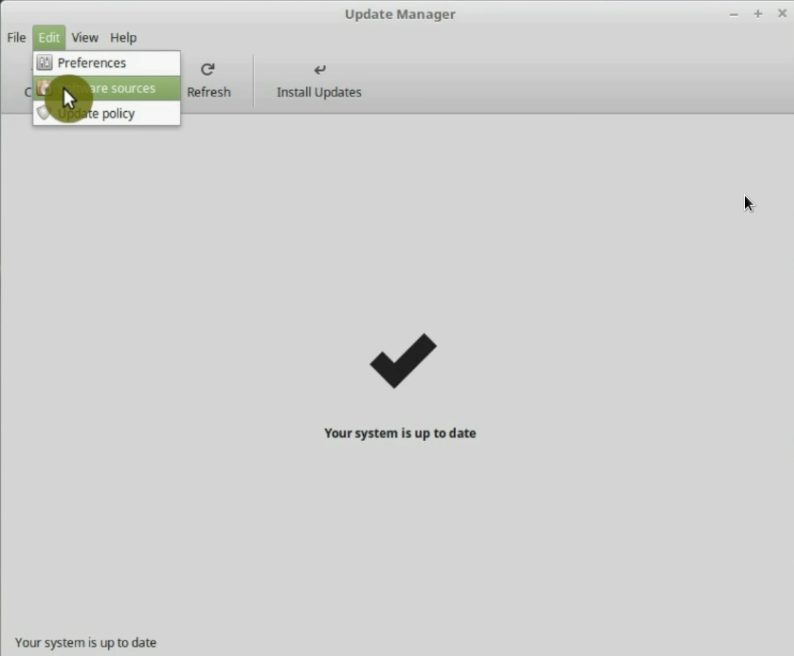
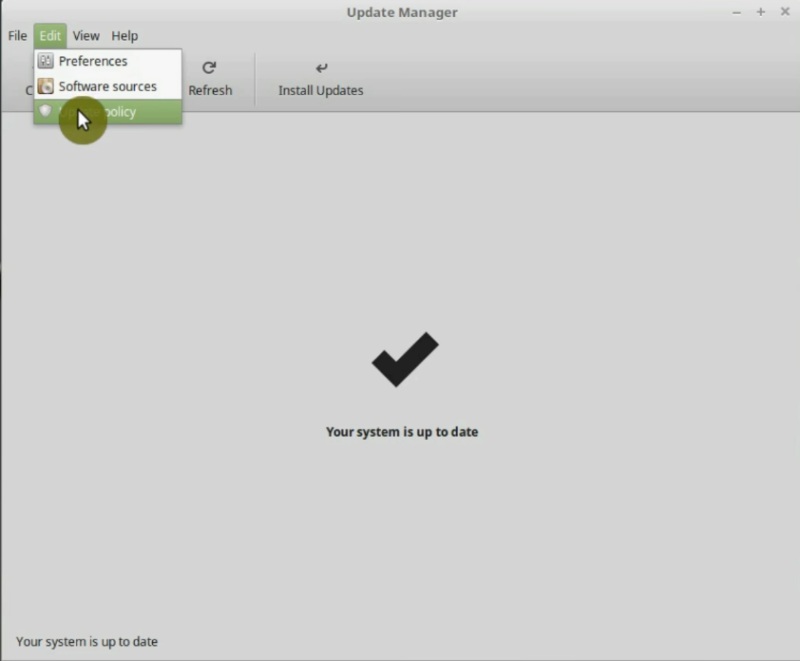
Open the Update Manager, go to the Edit menu and open Software sources. You will have to enter your password.
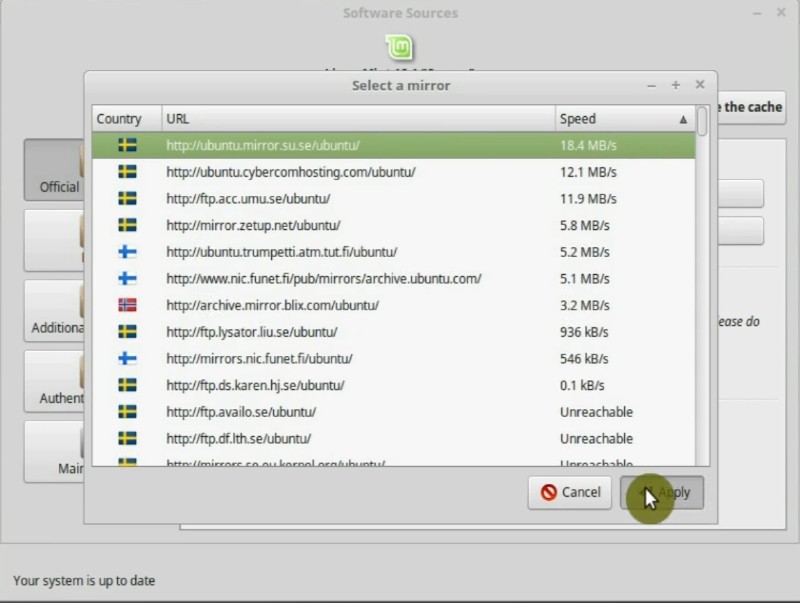
In the mirror list, click on the Main mirror. Then wait some time until the servers are ranked. And select the top one, which is the fastest.
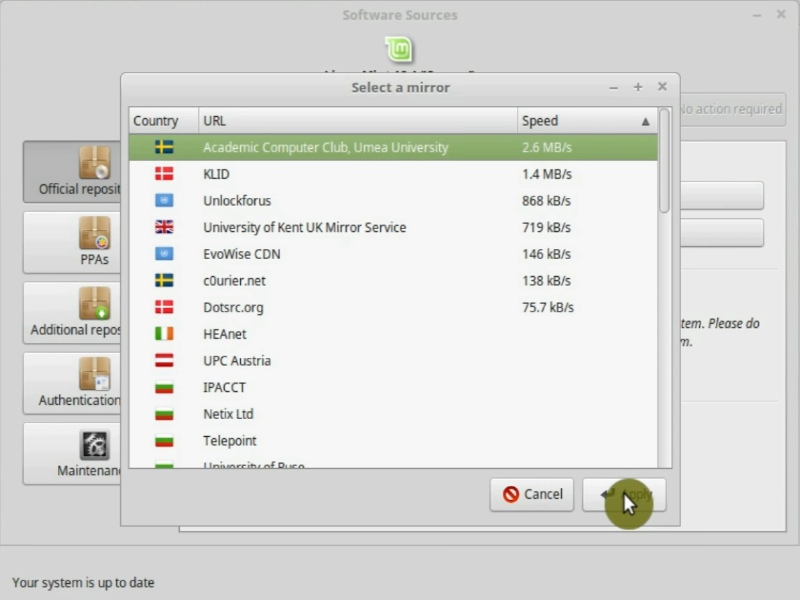
Then, do the same for the Base mirror.
Configure Update Policy
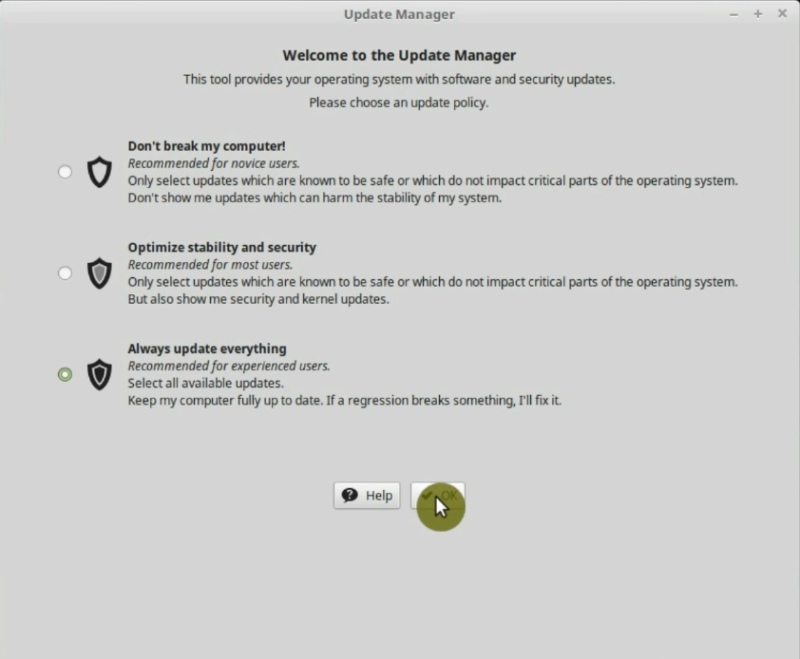
Linux Mint has three policies for updating its packages. Each one of them has certain particular characteristics that allow you to choose which one suits you best. In the Edit menu, you go to the Update Policy option and change it if you need.
To always get the latest versions of available packages, I recommend the Always update everything option. Optimize stability and Security should be fine too because is a balance between novelty and stability. Don’t Break my computer option is too cautious and that’s why you may not always have the best possible updates. In any case, the choice is yours.
Install available updates
Once you have configured everything, reload your update manager and install all the available updates.
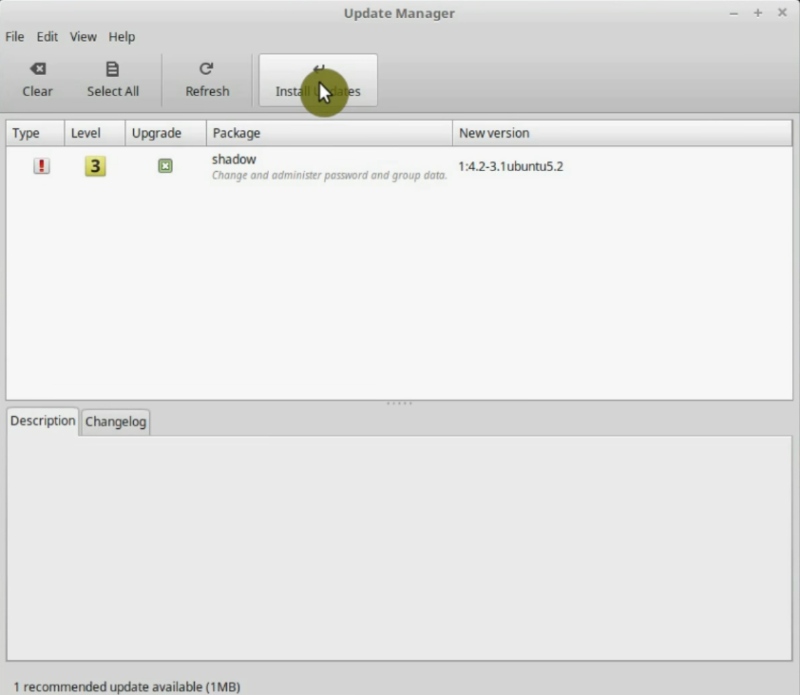
With this, you will have an Update Manager configured to download updates from the best possible repository and with the desired update policy.
2. Install Drivers
After installing Linux Mint it is necessary to install the drivers of your hardware in order to get the best possible performance from your computer. It will also guarantee the correct functioning of the devices connected to it.
First, go to the menu and search for Driver Manager. Open it. You probably will need to enter your password.
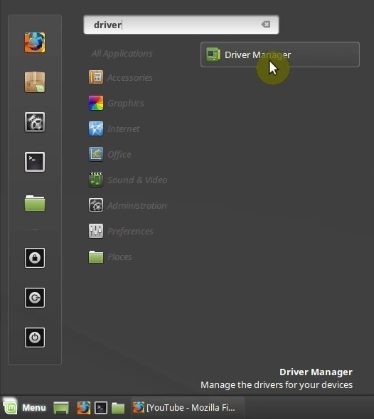
When the window is finished loading, you will see all the available drivers.
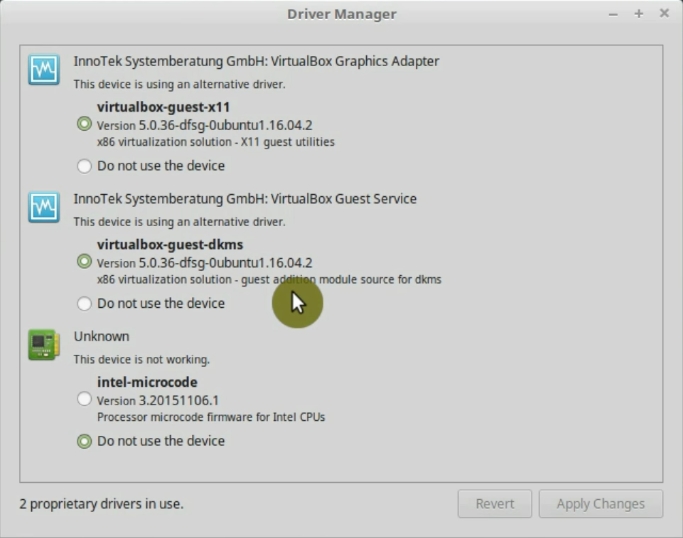
For this tutorial, I have installed Linux Mint using VirtualBox, that’s why the VirtualBox drivers are listed.
Wi-fi drivers
You may also see the drivers for a wi-fi card. If you need a proprietary driver for your wi-fi card, you would need to use cable internet to update the system and install the drivers. Then your wi-fi connection should work.
Graphic drivers
If you have a dedicated graphic card like NVIDIA or AMD then you will see something similar to this.
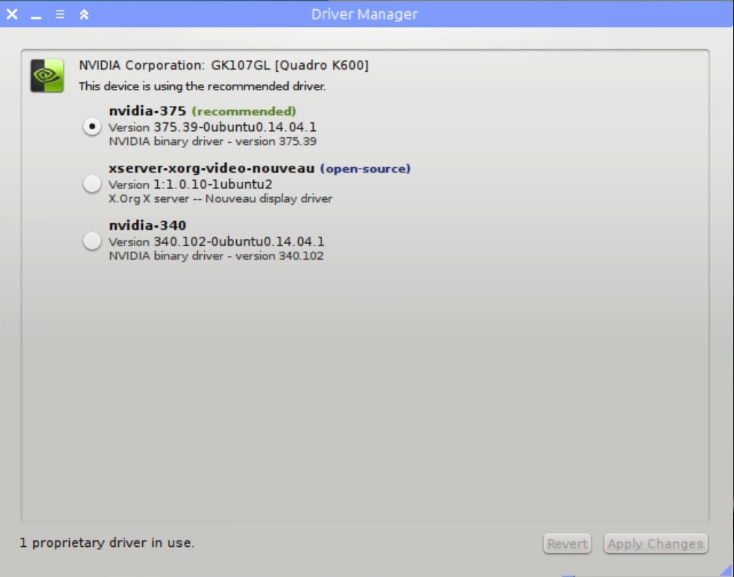
It offers three options in the image above, usually, the recommended option works the best. If you experience some issue with your graphics performance, try to use the open-source driver. If the open-source driver doesn’t work well either, try the third option.
When you have installed the graphic driver, you can go to the graphic card settings in your system menu and try to tweak your graphic settings to get the best performance.
3. Install microcode
In order to improve the performance of your processor, you need to install microcode. Microcode is the firmware for your processor, it is recommended to install for better performance and to receive the processor firmware updates.
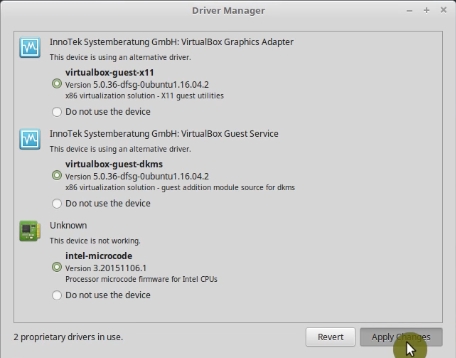
If you see microcode among offered drivers, install it.
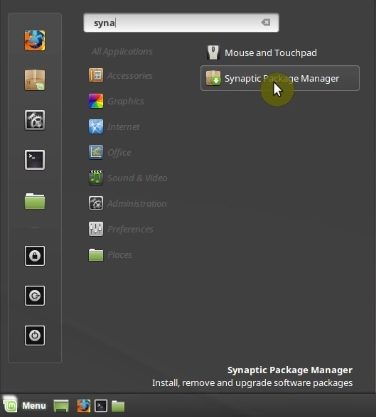
If not, open the Synaptic package manager from the main menu.
Then, search for microcode.
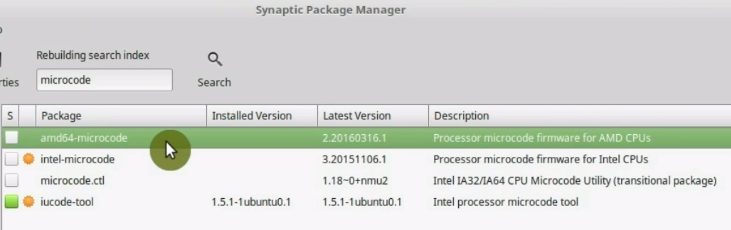
You will see two options, amd-microcode and intel-microcode. You need to install one of these depending on your processor.
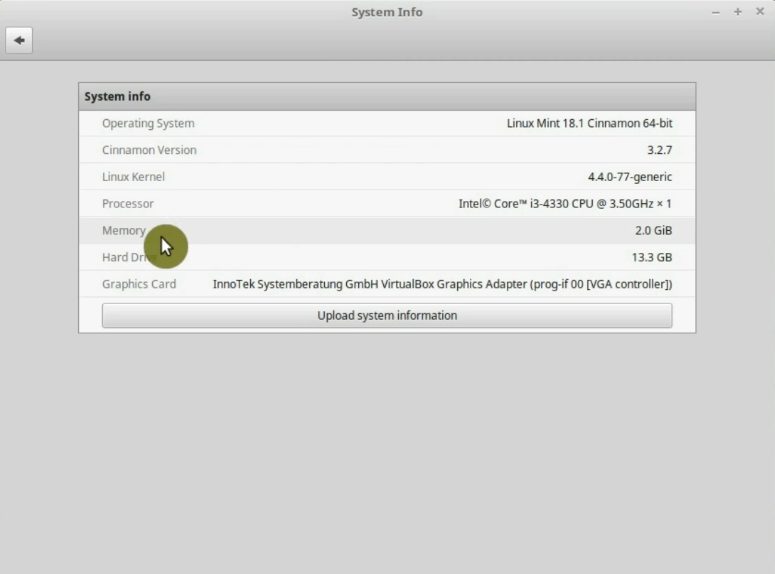
In case you do not know what processor you have, open the menu and search for System info. Open it.
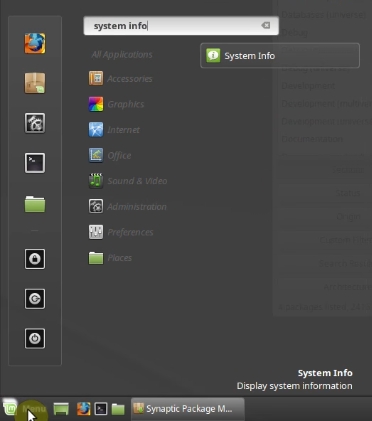
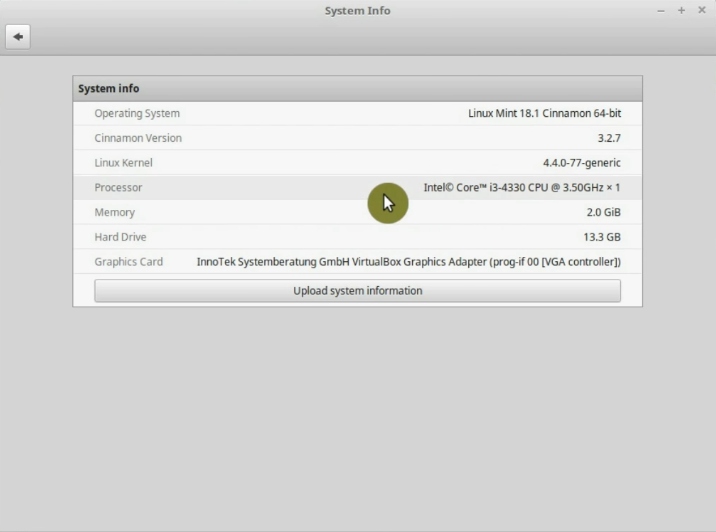
Then, in the line Processor, you can find the name of your processor. I have Intel processor in my computer.
So, I install intel-microcode package.
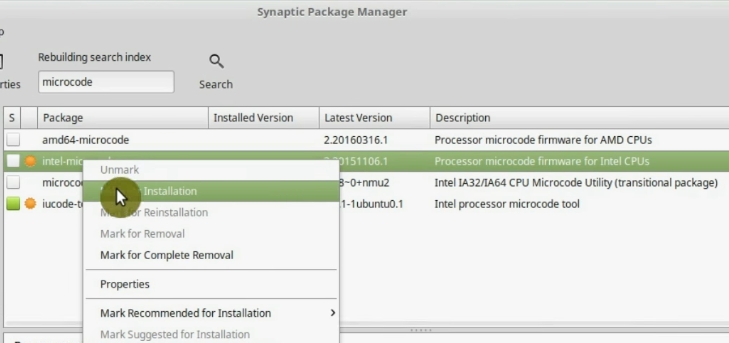
And that’s it. Now, you can be sure that your processor will work in the best possible way thanks to microcode.
4. Decrease the swap use
Swap is the space on your hard drive that is used to store the data when there is not enough RAM. If you don’t know, RAM is the Random Access Memory. It’s kind of temporary memory on your computer. RAM is always faster than a hard drive, so it is better to use it as much as possible.
If you don’t know how much RAM you have, you can open System Info from the main menu and there you will see it. On this computer, I have 2 Gb RAM.
Swappiness controls how the system manager RAM usage. With the default swappiness value of 60, Linux Mint starts writing some data from the RAM to the hard drive quite early and the system becomes less responsive.
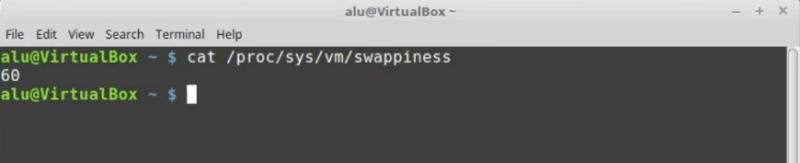
Check your current swappiness
You can check your swappiness if you open the terminal and type:
cat /proc/sys/vm/swappiness
Change your swappiness
In order to improve system performance, you can force it to use as much RAM as possible and write to the disk only when almost all the RAM is in use.
To do that, type in the terminal:
sudo xed /etc/sysctl.conf
Scroll down the file, at the end of the file, add the following:
vm.swappiness = 10
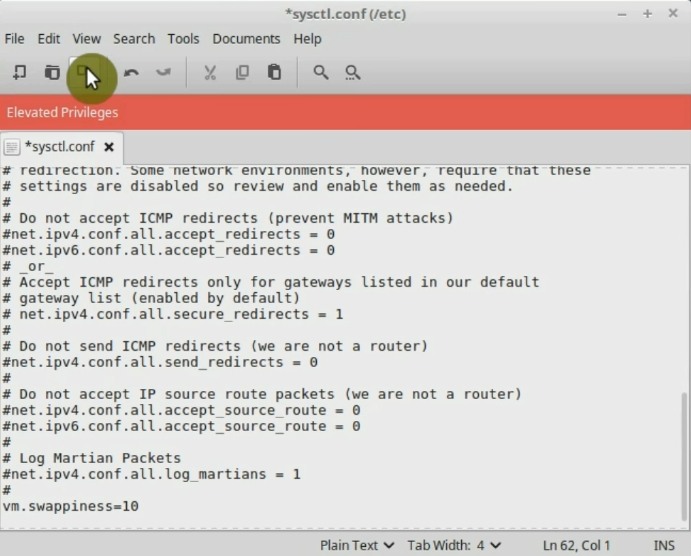
Then, save the file and exit.
For the changes to take effect, it is necessary to reboot the system. Now, check that the changes have been made correctly. Run in a terminal:
cat /proc/sys/vm/swappiness
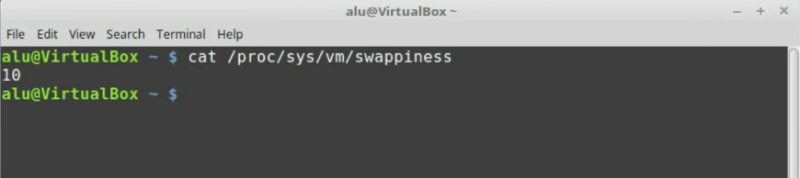
Now it shows 10. It means that the changes have been applied.
As a result, the system will access your hard drive less frequently and will be more responsive.
5. Enable hard drive cache
Another option to improve the system performance is to enable the use of the hard drive cache. Hard Drive Cache is the system’s ability to cache some of the information that will be written to the hard drive but the system will do the following task without waiting for it to be written to the disk. System performance increases with this.
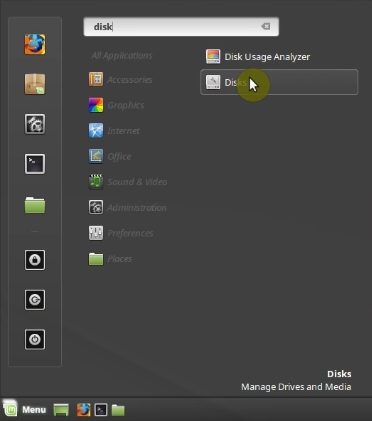
Go to the main menu and search for the Disk application.
Then, make sure that the hard drive with your Linux Mint system is selected. Usually, it is the first of the list. Open the menu and select Drive settings option.
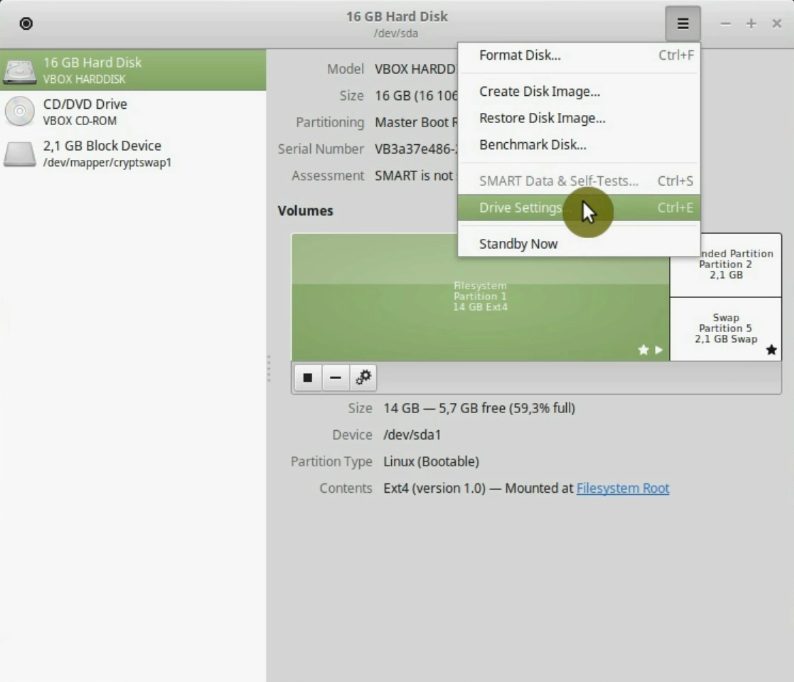
Next, go to the Write cache tab and enable it.

Now, the data will be cached and written to the disk with some delay, so the program will proceed to the next step without waiting for the write event to finish.
However, there is some trade-off of this option. Although system performance increases, if there is an energy problem and your computer shuts down unexpectedly, some data may be lost. Keep it in mind and decide yourself if you can take a risk to gain the performance boost. Also, if you use an SSD, you may not benefit much from enabling drive cache.
6. Reduce SSD writes
If you use an SSD drive, you can extend its lifespan by reducing the write cycles. It is highly recommended to do this in old or very used SSD drive.
Trim
There are two things that are necessary for good performance of an SSD drive. First, it is Trim which is useful to clean the drive. Fortunately, Linux Mint already has Trim enabled by default. However, if you want to check that Trim is enabled, in Linux Mint 18, run the following command:
cat /etc/cron.weekly/fstrim
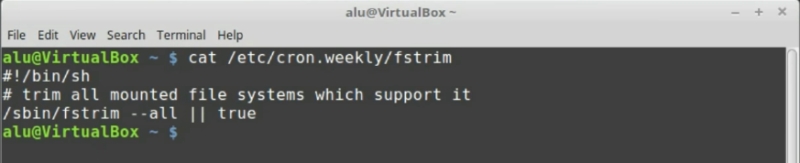
As can be seen on the line /sbin/fstrim --all || true. Trim is enabled.
In Linux Mint 19 and above, run this command:
sudo systemctl status fstrim.timer
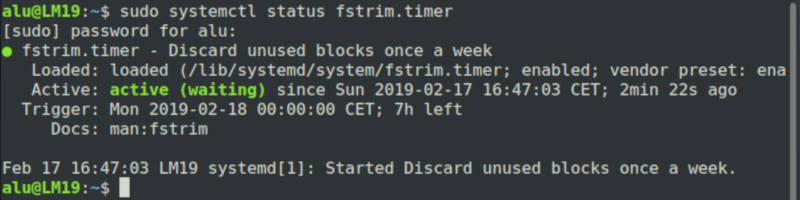
You should see “active” in the output. If it is inactive, you can activate with:
sudo systemctl enable fstrim.timer
sudo systemctl start fstrim.timer
Reduce the write cycles
And the second thing to extends the lifespan of your SSD drive is to reduce the write cycles. There are many ways to reduce the writes, but they all very complicated to configure and maybe not worth your time. However, this option you can enable very easy.
Type in the terminal:
sudo xed /etc/fstab
Find your SSD partitions, usually, it is every partition that has sda in its name. And add noatime before the word errors. You need to do that for every partition you have on your SSD drive, except swap. For example, if you have /home partition, add noatime there too.
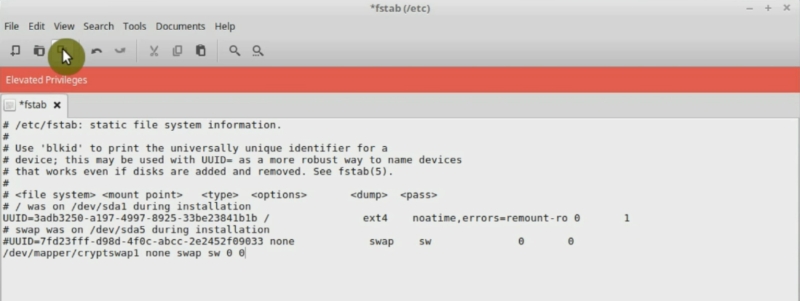
Then, save and close the file.
The noatime option will disable write action when the system only reads files. This option is not enabled by default on Linux Mint, probably because this option has a small risk that some programs won’t work correctly. However, you can extend the life of your SSD drive with it. I use it all the time and have never had any issues.
7. Turn on firewall
Linux is a secure system and activating a firewall is not necessary. However, it is advisable to do so because it gives a little more security without spending too much computer resources. In short, a Firewall is a software that allows us to manage and filter all incoming and outgoing traffic in computer networks.
Enable firewall
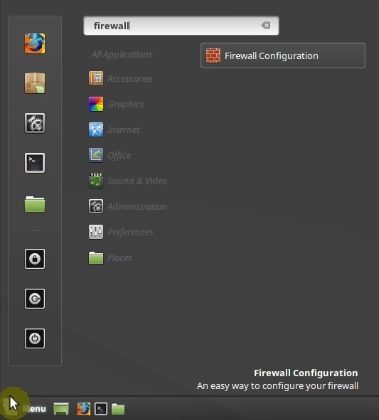
To enable the firewall in Linux Mint, open the main menu and search for Firewall. Open it.
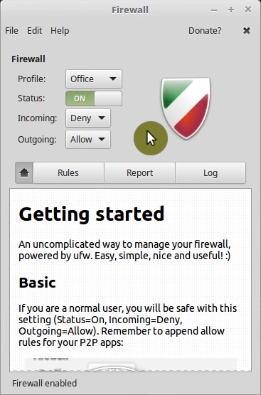
The settings are very simple here. For most users, it is enough to activate it.
Open ports
New users are unlikely to need to open ports in the firewall.
In case you need to do so. For example, to use SSH to connect to your computer, you can go to the Rules.
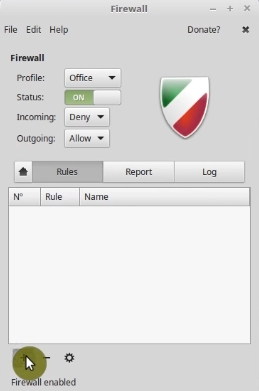
Next, click on the plus sign and change Firewall settings for some applications. For SSH, you select SSH and enable both directions port.
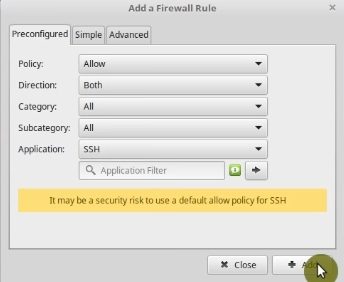
Sure, this option is for advanced users who know how to use firewall and ports.
8. Install MS fonts
Now, it is the turn to install the Microsoft fonts that Linux Mint for licensing reasons does not include in the installation. But likely you will need them, especially if you want to use documents created in MS Office.
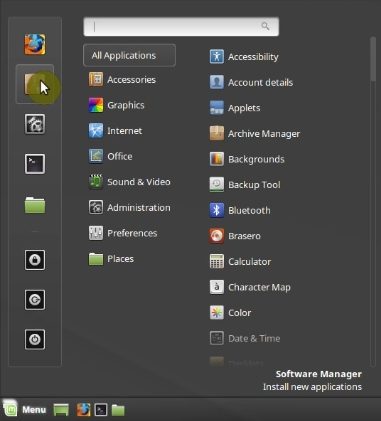
The process to install MS fonts is really simple. First of all, open the Software Center.
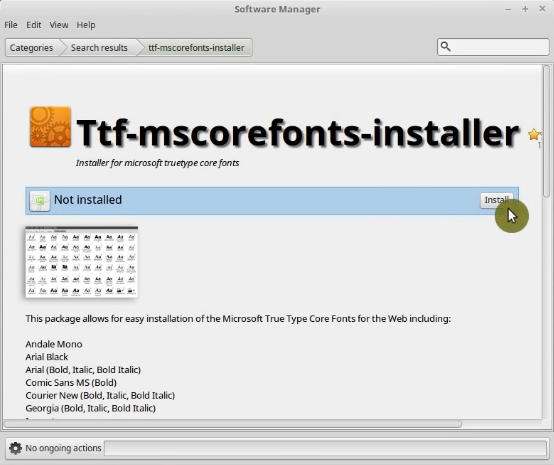
Then, search for mscorefonts. Now you need to install the ttf-mscorefonts-installer package.
Now, when you open any application, for example, LibreOffice, you will have such fonts as Arial, Times New Roman, and other MS fonts.
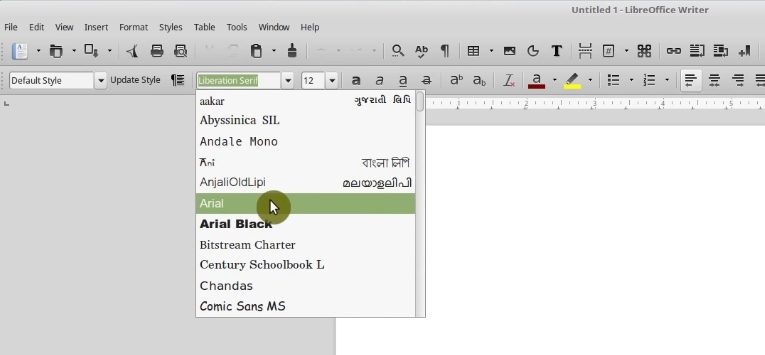
This is one of the things to do after installing Linux Mint if you come from Microsoft Windows or if you open a lot of .doc and .docx documents.
9. Remove unnecessary software
This section depends on what programs you really need in your system. However, it is common to remove these 3 packages Mono, Orca and VirtualBox Guest files.
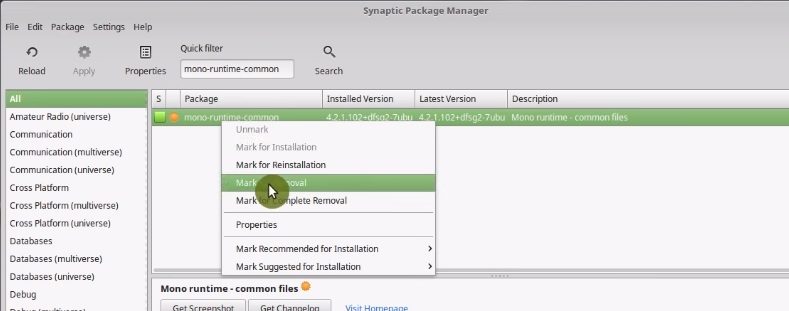
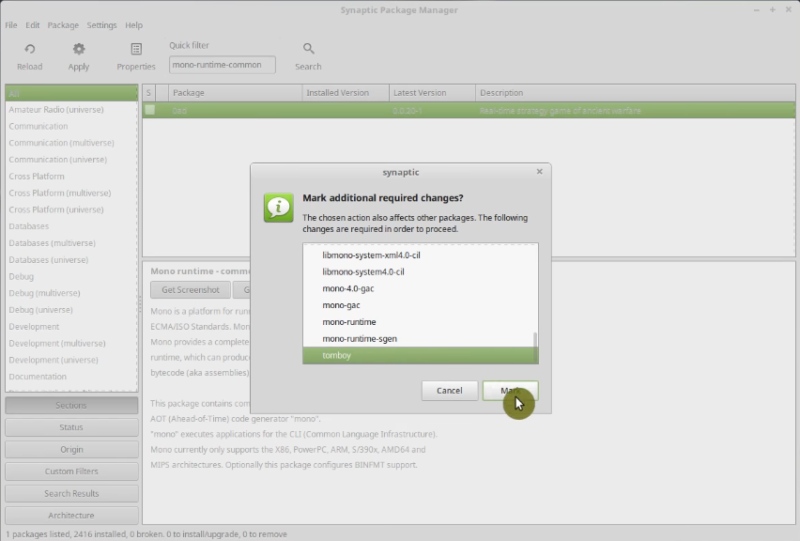
To remove them, open Synaptic package manager and search for mono-runtime-common.
As you can read in the description, mono is a platform to run and develop some specific applications. Mark it for removal.
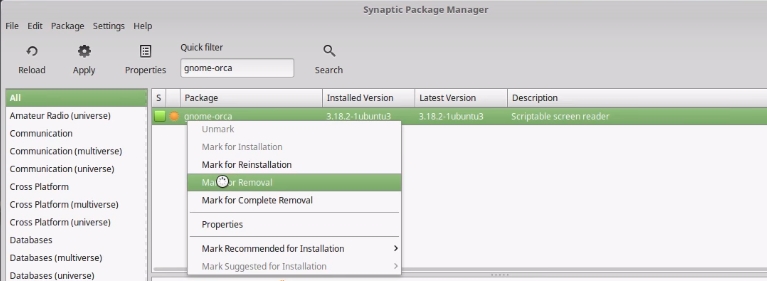
Then, search for gnome-orca package. Orca is a GNOME application for the visually impaired. Unless you are visually handicapped, it is fine to remove it too.
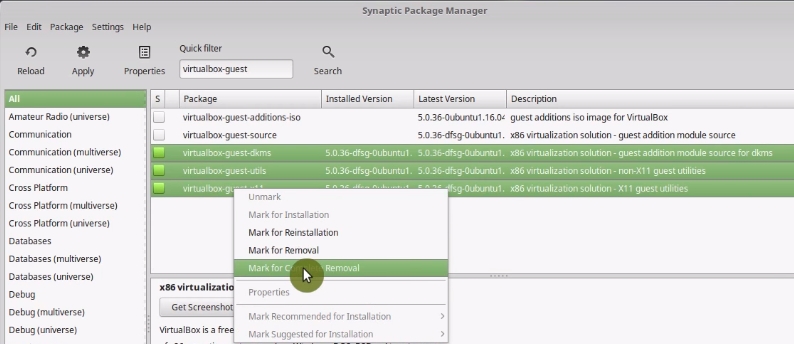
Then search for virtualbox-guest and remove all the associated packages. These packages needed to run Linux Mint in a VirtualBox, but if you are on real hardware, remove them.
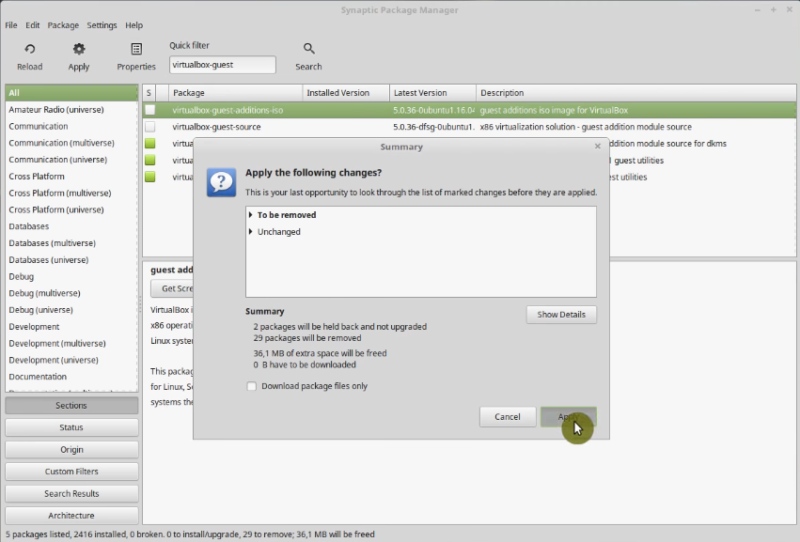
Once you have marked the changes, press the apply button.
Remove more programs
Linux Mint pretends to be a distribution for beginners and that’s why it includes all possibly needed applications, but the reality is that many users don’t use them all. So it’s the best to uninstall unnecessary programs.
Go through the system menu and check if there is any application you are not going to use. Then, search for them in the Synaptic package manager and uninstall.
However, be careful when uninstalling an application and its dependencies. You should know what you are removing. For example, when you mark to remove mono, you also mark to remove tomboy, which is a sticky notes program. But it is OK, you can install xpad package instead, which is a good alternative.
Note! If you are complete Linux beginner, do not remove anything that comes with Linux Mint by default.
If you are little familiar with Linux, I would recommend removing the programs you do not use. For example, I would also suggest removing these programs:
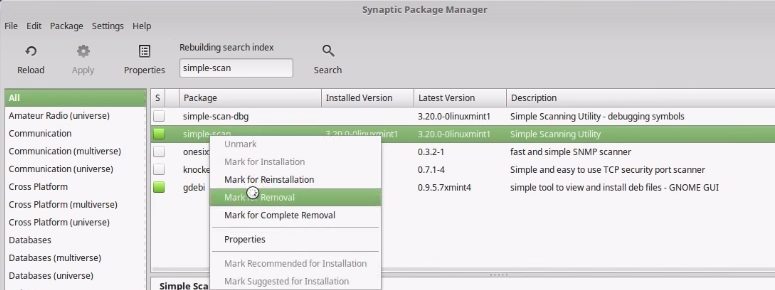
simple-scan. You do not need it if you do not have a scanner.
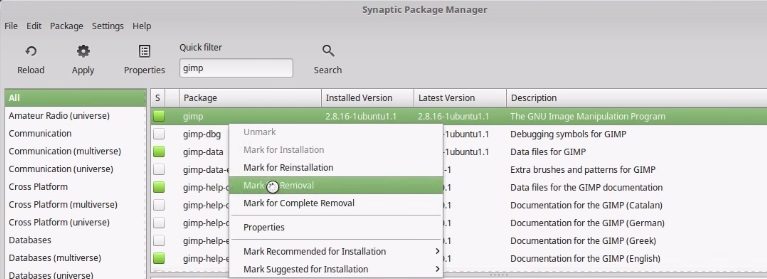
gimp. In reality, GIMP is a good image editor, however, there is some learning curve. For simple image editing, you can use Pix.
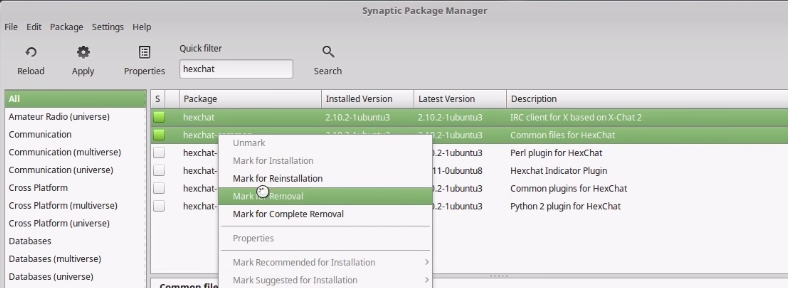
hexchat is a GTK IRC program. If you do not use it, is safe to uninstall it.
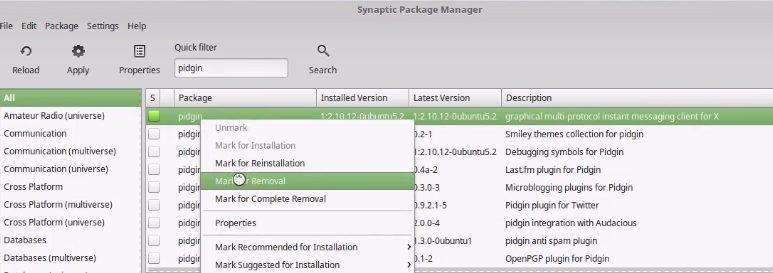
If you do not use any messaging program, you can remove pidgin.
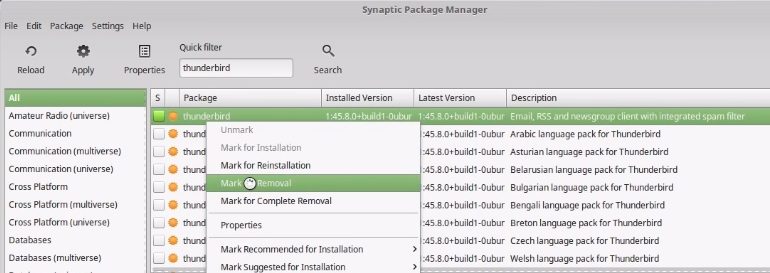
Many people prefer the web-email client. If you are one of them, you can also remove thunderbird, which is a desktop email client.
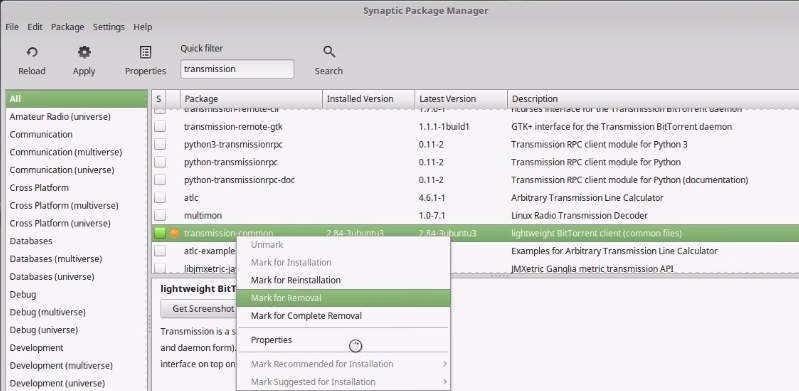
If you do not download torrents, then you can remove transmission.
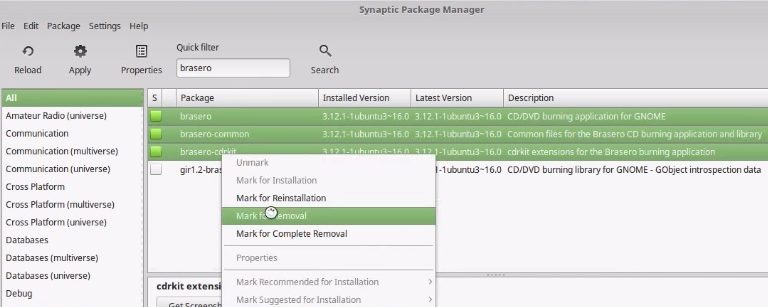
If you do not have a CD/DVD-ROM, you can remove the disk burning program brasero.
Be careful removing programs
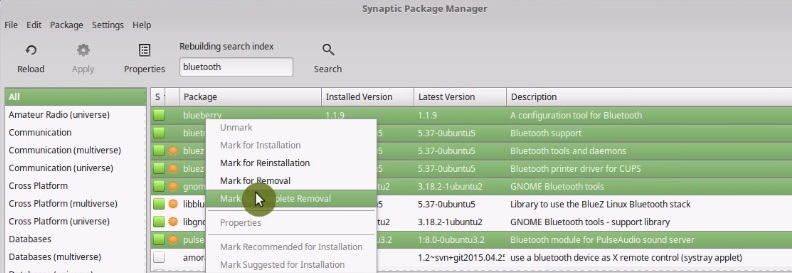
You can also clean the system even more by removing some unused applications from the Administration and Preferences sections from the main menu, but there is a danger to remove some required applications as dependencies. For example, I do not have Bluetooth, so I usually remove all Bluetooth related packages. But here is the danger, If you remove libbluetooth3 and libgnome-bluetooth13 packages, they will drag the whole Cinnamon desktop, which is the graphical environment of your system.
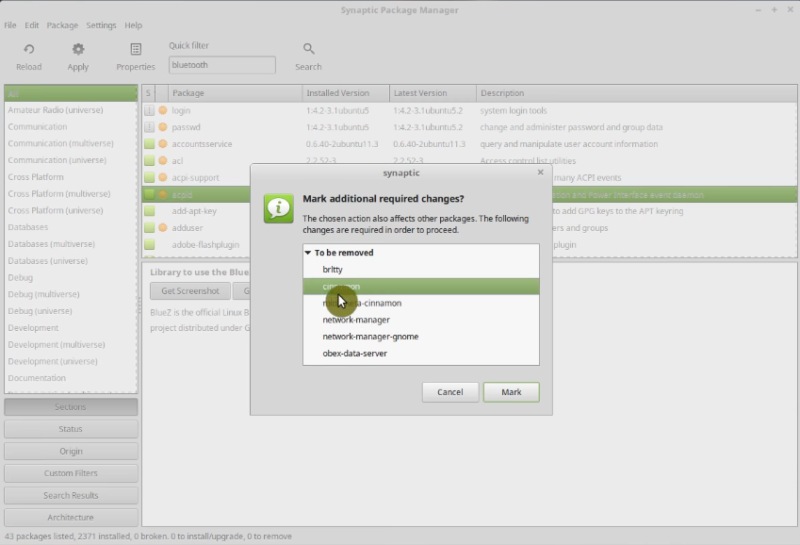
To uninstall, Bluetooth you need to uninstall all Bluetooth-related packages except these twolibbluetooth3 and libgnome-bluetooth13.
Again be very careful when uninstalling packages from Synaptic. If you are not familiar with Linux, I recommend you do not uninstall anything. The risk of breaking the system is high if you don’t know what you are doing.
10. Change Firefox settings
Open last closed tabs
When you open Firefox, the start page is the Linux Mint website. However, it is useful to open the last closed tabs, when you start Firefox.
To enable this feature, go to the Menu -> Preferences.
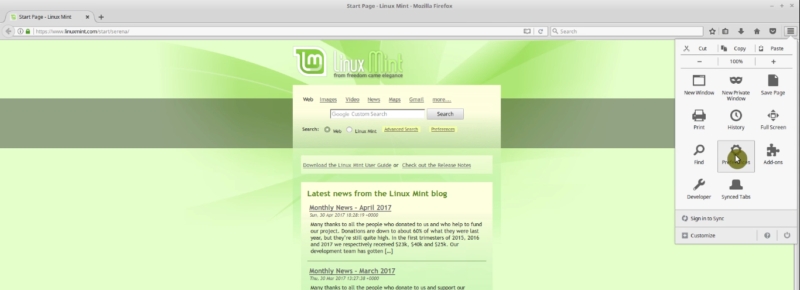
In the section, when Firefox starts, select Show windows and tabs from last time. And that’s it.
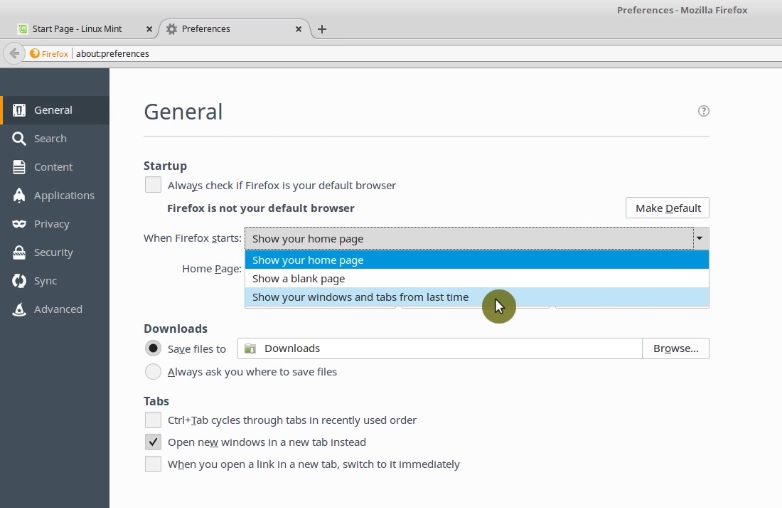
Now, when you close and open Firefox, you will see the tabs you had open when you closed the browser.
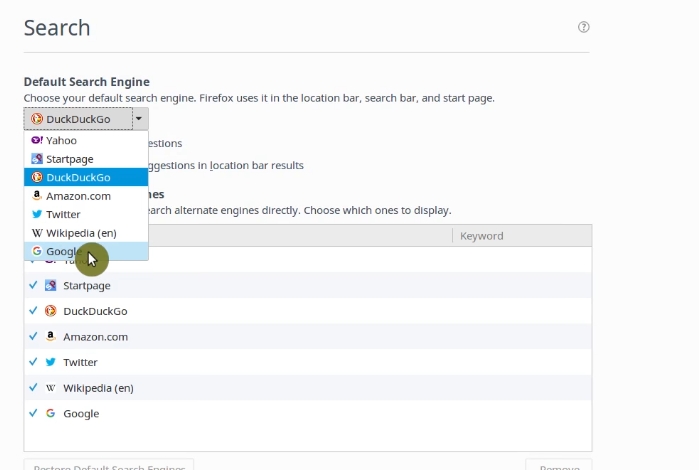
Enable Google search
Firefox uses DuckDuckGo search service. It is a good private search engine. It doesn’t collect you search data. It’s a good search engine but it doesn’t always show the most relevant results. If you want, you can change the default search engine to Google or any other.
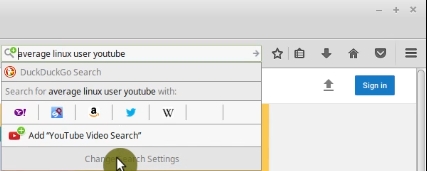
Click on this magnifying glass button in the search bar and here you see Change Search Settings. Click on it.
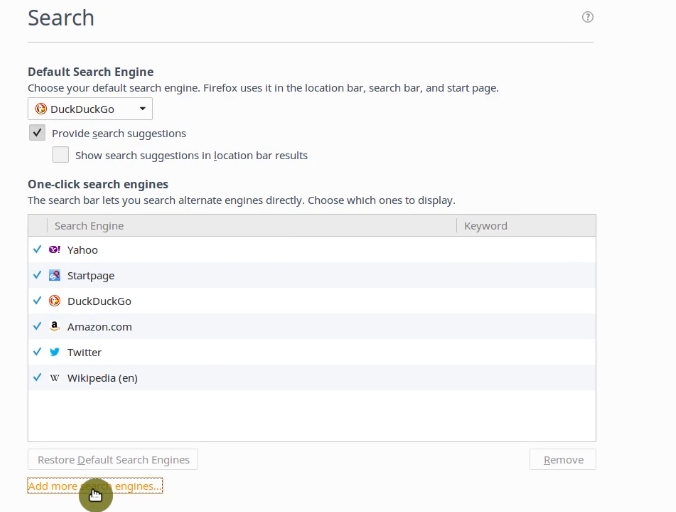
Then, in the tab that opens, click on Add more search engines.
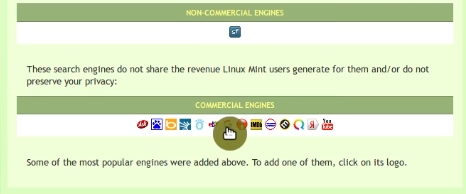
On the web page that opens, you can read the full explanation of why Linux Mint uses Duck Duck Go as a search engine. To add Google, you need to click on the Google icon.
And now when you click on the magnifying glass in the search bar, you will see an option to add Google. Click on it.
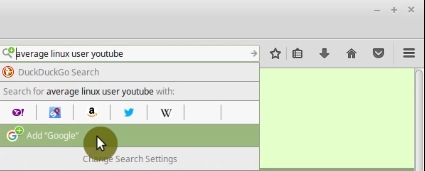
Then, go back to the Search settings and select Google as a default engine.
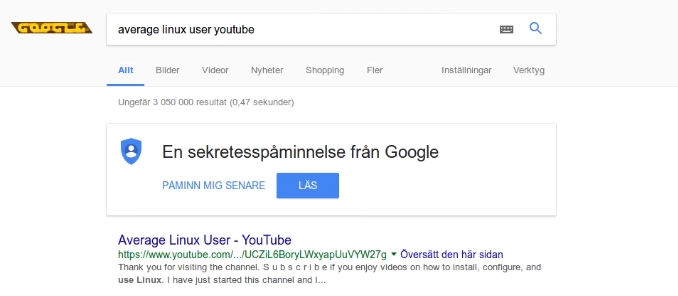
Now, when you do the search in the search bar and web address bar ofFirefox, you will see the Google results.
11. Tweak LibreOffice
LibreOffice is the most popular office suite in Linux, however, it is not very fast to start and is especially noticeable on older computers. But there is one setting you can change to speed up LibreOffice.
Open LibreOffice, go to Tools → Options.
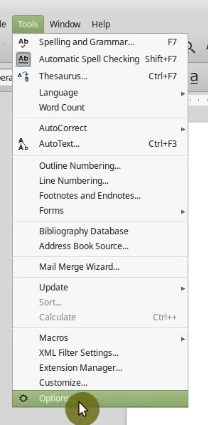
And in the Advanced section disable Use Java runtime environment.
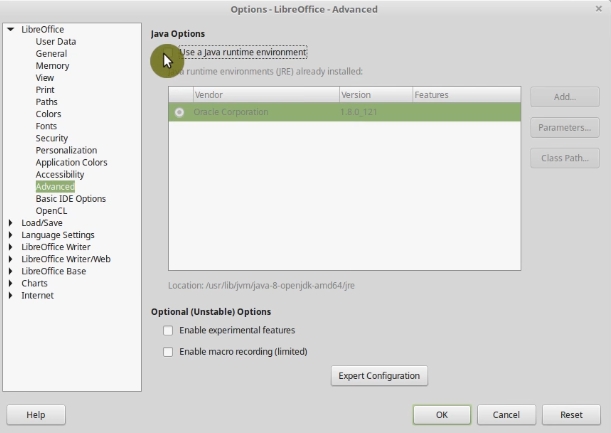
In the 99% of the cases, you will not need Java, but Java slows down LibreOffice. However, if you use Macros in LibreOffice you have to keep it.
If you are still unsatisfied with the speed of you LibreOffice, you can increase the speed by allocating little more memory in the Memory settings.
Go to Tools menu -> Options. In the Memory section, you can change the amount of memory you want. For example, I use 64MB in Use for LibreOffice, and Memory per object 12MB. You can also try to increase it even further.
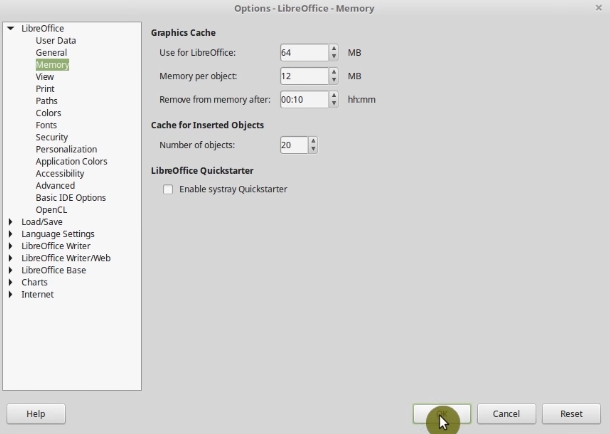
LibreOffice should start up much faster after doing these two tweaks.
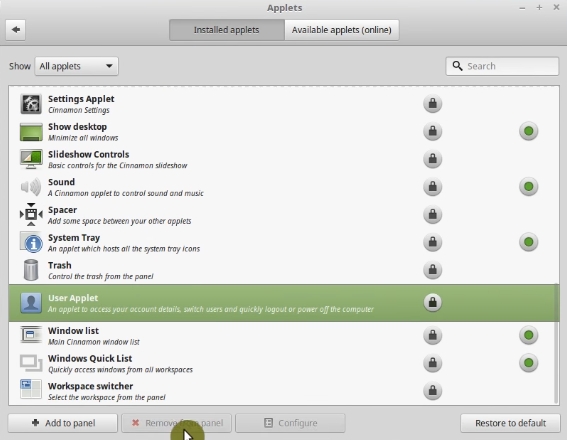
12. Remove some applets: User applet, and Windows Quick list
I never use the User applet and Windows Quick list because they’re really not necessary. The information from the User applet is available on the main menu. And the Windows Quick list duplicates the main Window list on the panel.

Let’s remove them.
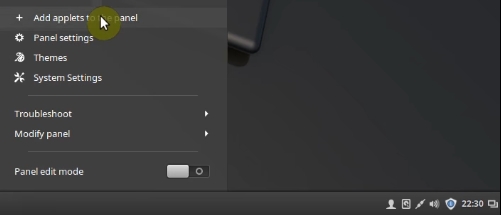
Right click on the panel and open Add applets to the panel.
And remove the User applet
And Windows Quick list applet.
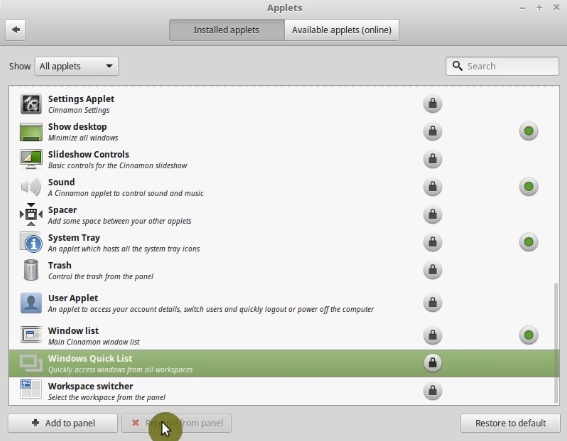
Now, your Linux Mint panel is a little cleaner.
13. Turn off some startup applications
Another important thing to do after installing Linux Mint is turn off some startup applications to improve the system startup time and performance.
First, open the System Settings.
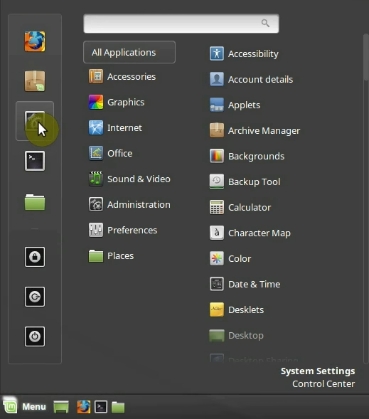
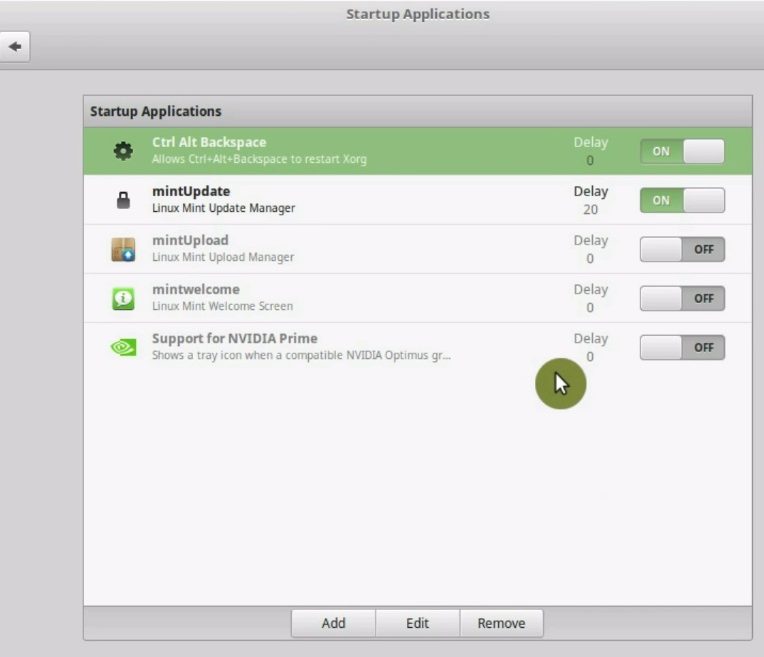
Then, go to the Startup Applications.

You may have some applications here which you do not want to autostart. In my case, I have an only Ctrl+Alt+Backspace shortcut and the Mint Update manager enabled. This is OK.
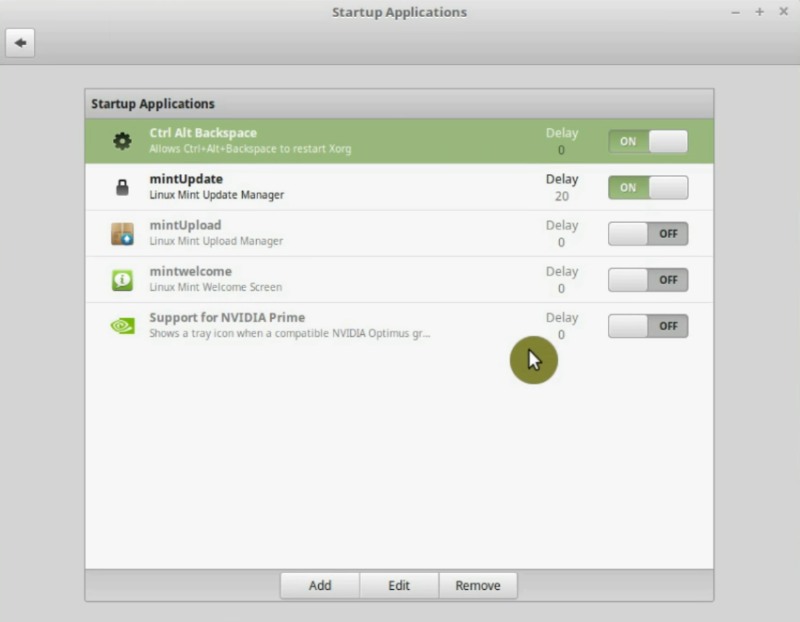
NVIDIA prime support will probably be disabled unless you use the compatible NVIDIA Optimus graphic card.
If you have any other programs here which you did not enable purposefully, disable their autostart. Doing so will make the system start even faster and it will also load less your computer.
14. Disable hibernation (suspend-to-disk)
When you hibernate your system, all the open programs do not shut down, they are written to the hard drive. So, next time you turn on your computer it restores the previous state of the system with all the programs open. This feature hasn’t worked correctly in Linux for a long time. Besides, hibernation is not advisable if you use SSD.
To disable hibernation, open the terminal and type the following command:
sudo mv -v /etc/polkit-1/localauthority/50-local.d/com.ubuntu.enable-hibernate.pkla /
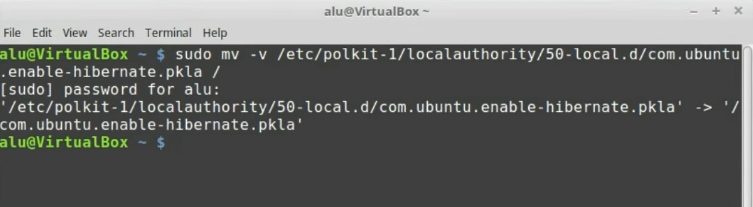
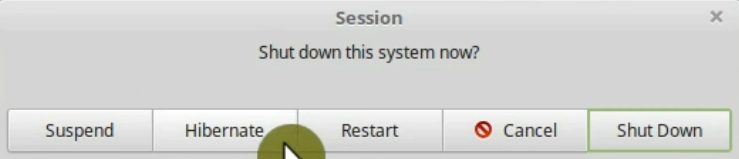
Enter your password. Reboot, and the Hibernation option should disappear from the Shutdown menu.
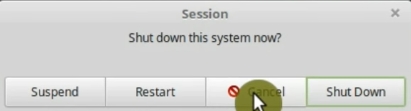
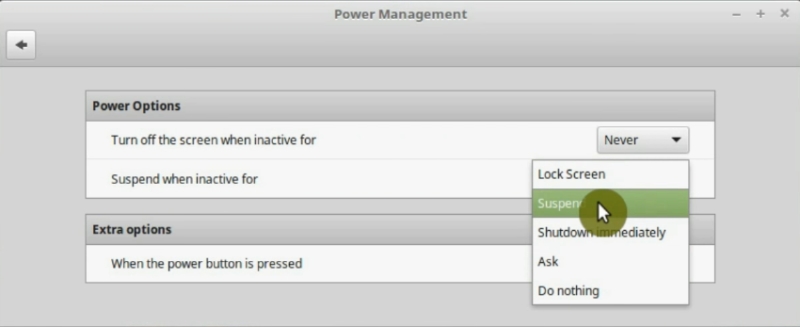
If you are on the laptop, go to the Power Settings on the System Setting and check if you had hibernation in any of the options, replace it with Shutdown or Suspend.
Revert the changes
I case you want to get the hibernation option back, I moved the settings that enable hibernation to the root of the system. So, if you need to undo it, you simply need to move the settings back. Run this command:
sudo mv -v /com.ubuntu.enable-hibernate.pkla /etc/polkit-1/localauthority/50-local.d
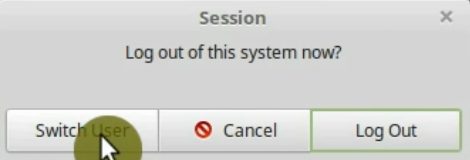
15. Disable the Switch User option
The last step I propose you to do after installing Linux Mint is disable the switch user option. You will see it on Logout option in the main menu.
If you use it, you will be able to log in as another user, but everything will stay open and working for a current user. This causes the system to consume more resources unnecessarily. It is better to disable it.
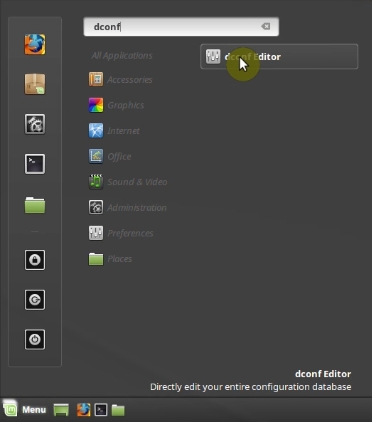
To that end, open the Synaptic package manager and install dconf-editor package.
Once installed, open dconf-editor from the main menu.
Go to org -> cinnamon -> desktop -> lockdown. And tick disable-user-switching.
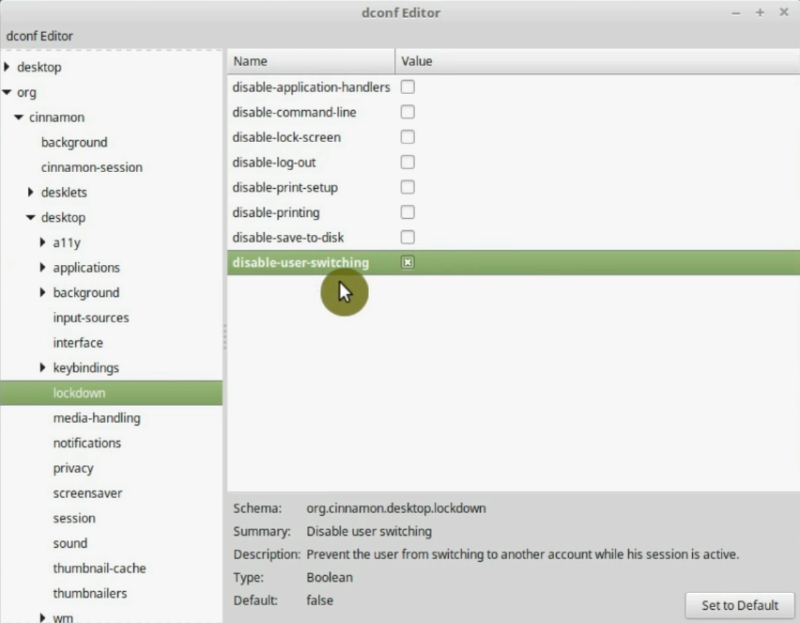
You can close dconf-editor now and check the changes. Try to open the logout window. Switch user option isn’t there anymore.
Conclusion
Linux Mint is a great operating system, but it is always possible to improve and customize your user experience. I hope you will like these steps after installing Linux Mint system and they will make your user experience better.
Do you find anything of these 15 things to do after installing Linux Mint useful? Would you add anything to this list? Let me know below in the comments.
You can also read similar tutorial on 30 things to do after installing Ubuntu 18.04.sudo systemctl status fstrim.timer
Comments
capy
thank yu very perfectly detailed
Symbiont
Thanks for the list! Don't forget to mention firejail.