CloudBerry Backup for Linux: an ultimate backup solution
CloudBerry Backup for Linux is probably an ultimate backup solution available on the marked. This post will provide an overview of all its features.
Key features of CloudBerry Backup for Linux:
- supports almost all popular cloud storage and of course local storage.
- many custom backup plans in one program.
- supports block-level backup, so only the differences between source and destinations are backed up.
- has all possible options to handle symlinks.
- able to comperes and encrypt data during backup.
- has a graphical, command line and web interfaces.
- alible as a Freeware for personal use.
You can watch the video or continue reading below.
Install CloudBerry Backup for Linux
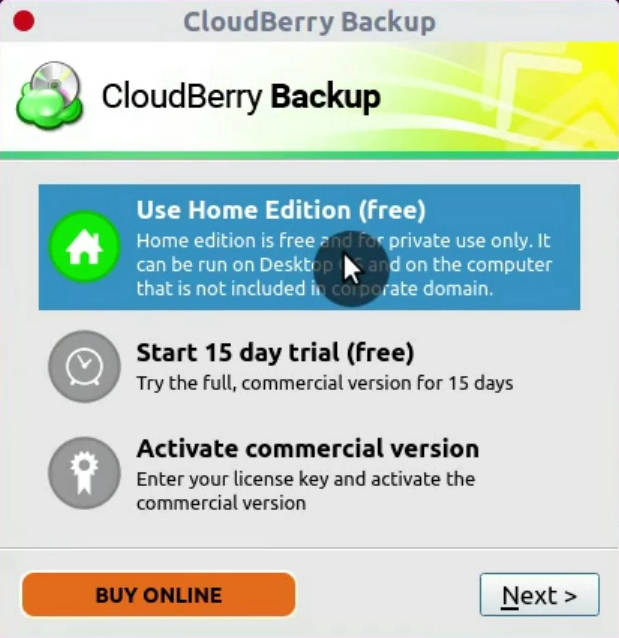
When you download the Cloudberry Backup for Linux, you can use it for free for personal use, but with a limit backup size of 200 GB and without encryption and compression. You can also try encryption and compression for 15 days as a trial,
If you like the premium features, you can get 50% discount for a CloudBerry Backup PRO Personal Edition.
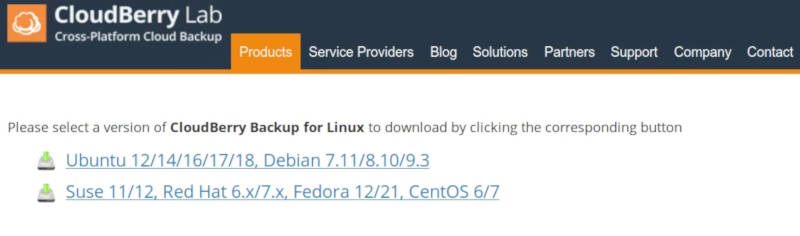
Cloudberry Backup for Linux comes in deb and rpm packages, which you can easily install through the Software Center.
I will show you only the graphical program which is aimed for desktop use, but there is also a command line interface if you want to run CloudBerry Backup for Linux on a server.
Configure a backup plan
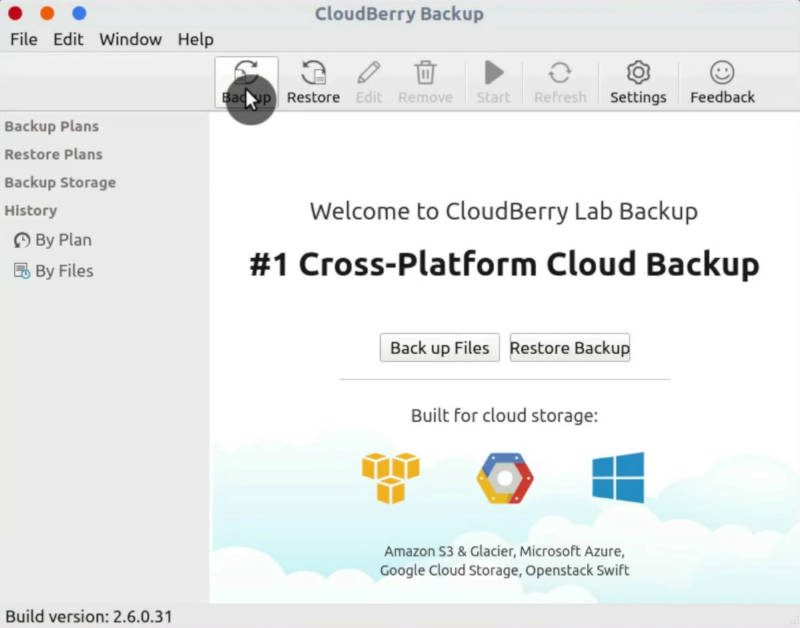
To create a backup plan in Cloudberry Backup, you need to click on Backup.
Configure backup destination
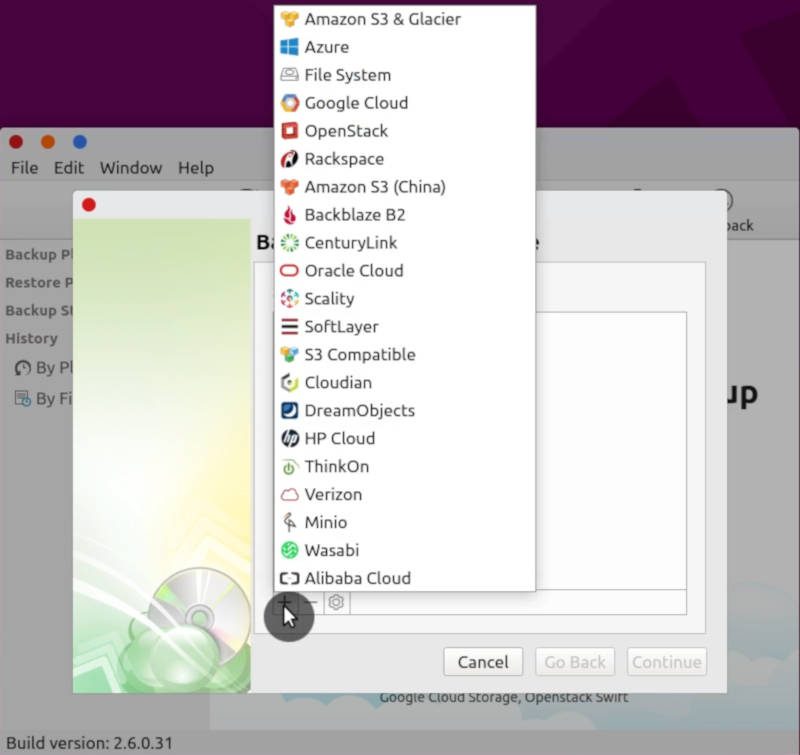
Next, you click on the plus icon and select the destination location for your backup. There are many cloud options and of course the local storage. The cloud options include the most popular cloud storage providers such as Amazon S3, Google Cloud, Oracle Cloud etc. You can of course back up to a local storage such as a USB hard drive by selecting the File system option.
I will show you how to use cloud backup with Google Cloud as an example.
First, name the storage location and select authentication method.
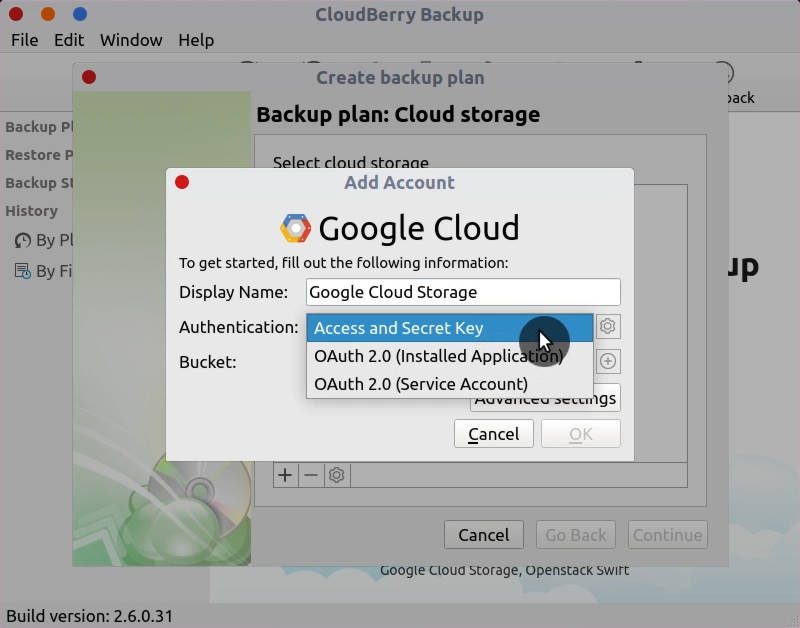
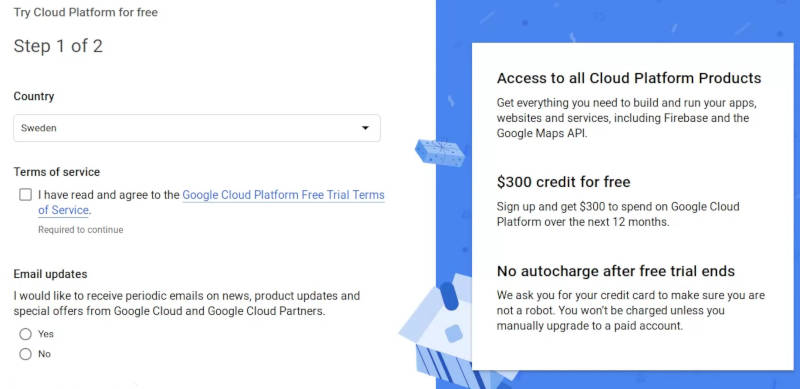
I use the access and secret keys for authentication. To get the keys, go to your Google Cloud website. If you don’t have Google Cloud account, you can apply for a 12 months free account. You will get $300 credits for free for 12 months. Google claims, there won’t be any auto-charge after a trial ends.
Create a bucket for Cloudberry Backup backups. Then go to the Settings of your Storage and create a new key in the Interoperability tab. You should see the credentials you will need to give Cloudberry Backup access to your Google Cloud project.
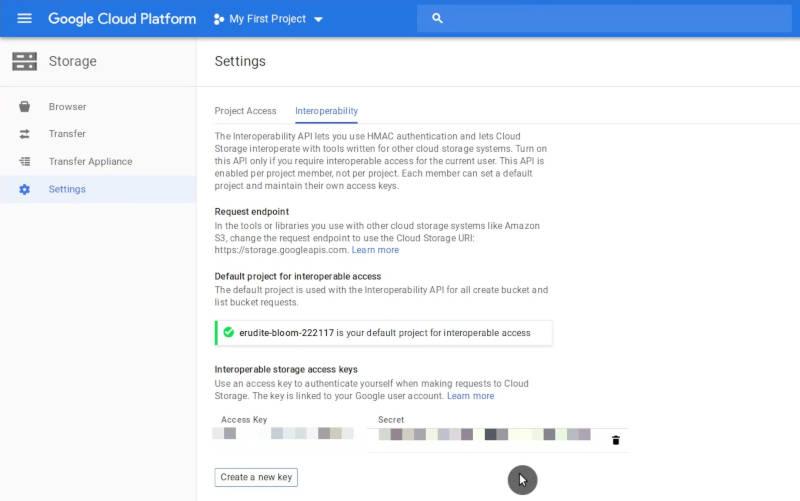
Copy and paste your Access and Secret keys and click on Bucket and select your backup bucket.

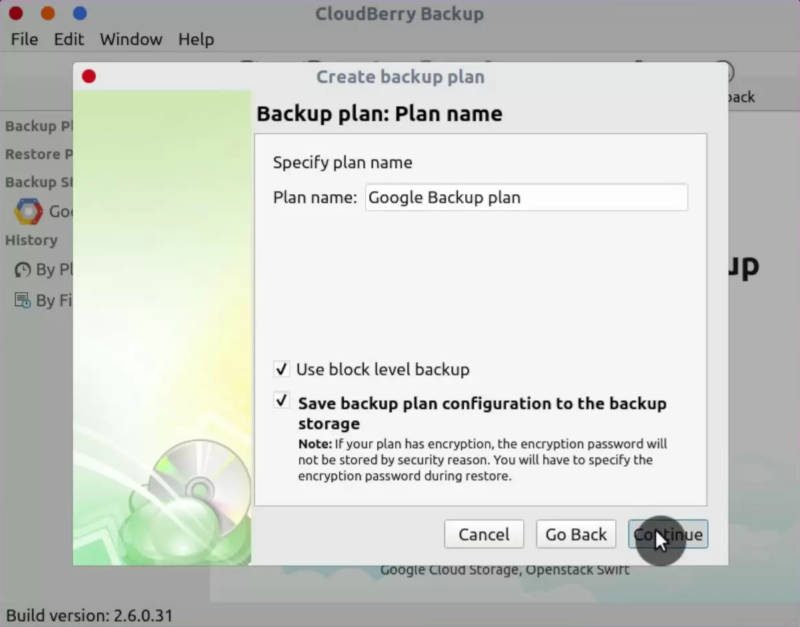
Now, you can create a backup plan. I also recommend enabling block-level backup. Block-level backup allows you to back up only modified parts of the files instead of running a full backup every time a file is changed. So, this way you will save your bandwidth and reduces the backup time.
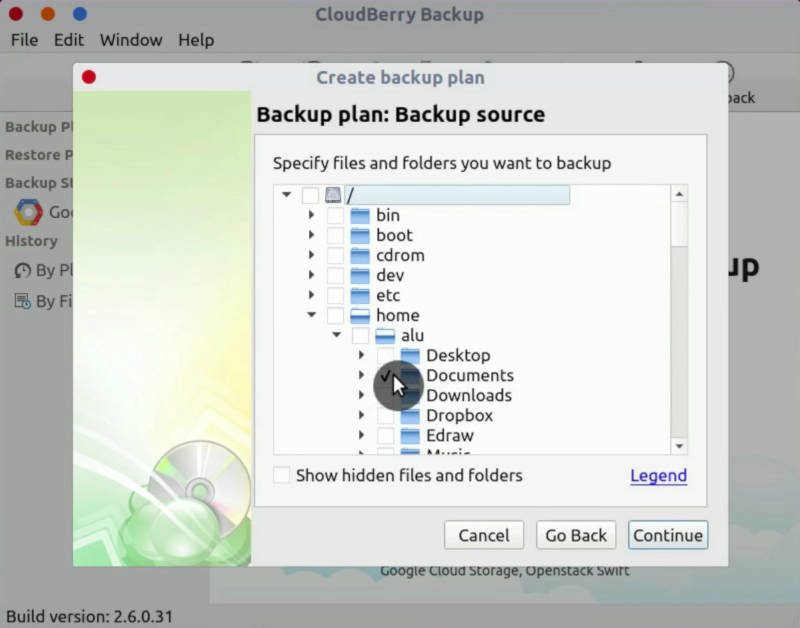
Configure backup source
In the backup source, you select what you want to back up. I back up only the most important files to Google Cloud, which are located in my Documents folder.
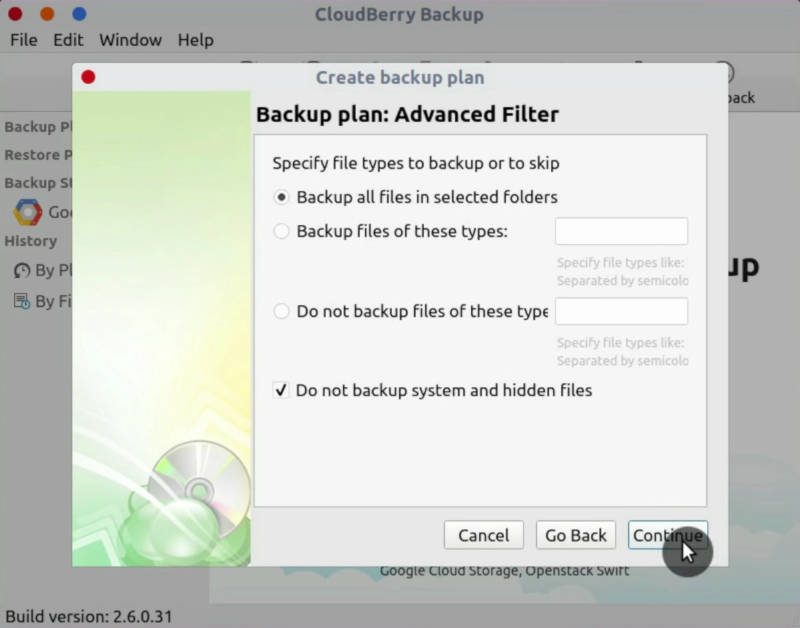
You can filter what you want to back up.
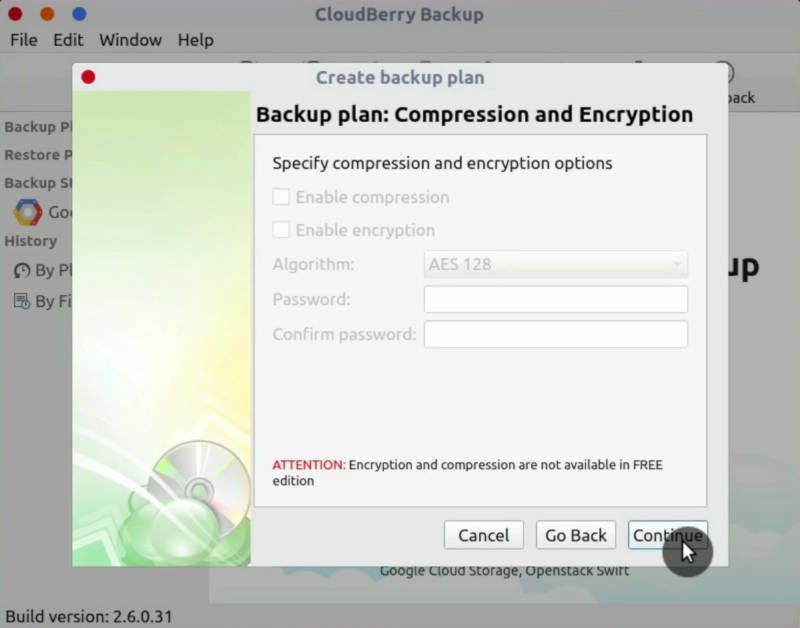
Compression and encryption
I use a free version, if you get a Cloudberry license, you can also enable compression of the backup data which will save your bandwidth. A license would also allow you to encrypt your data before it is backed up.
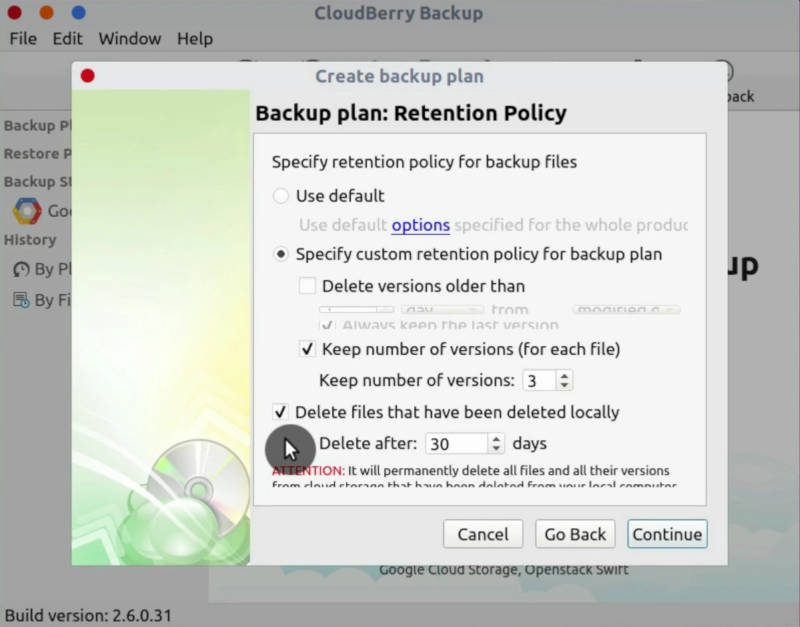
Retention policies
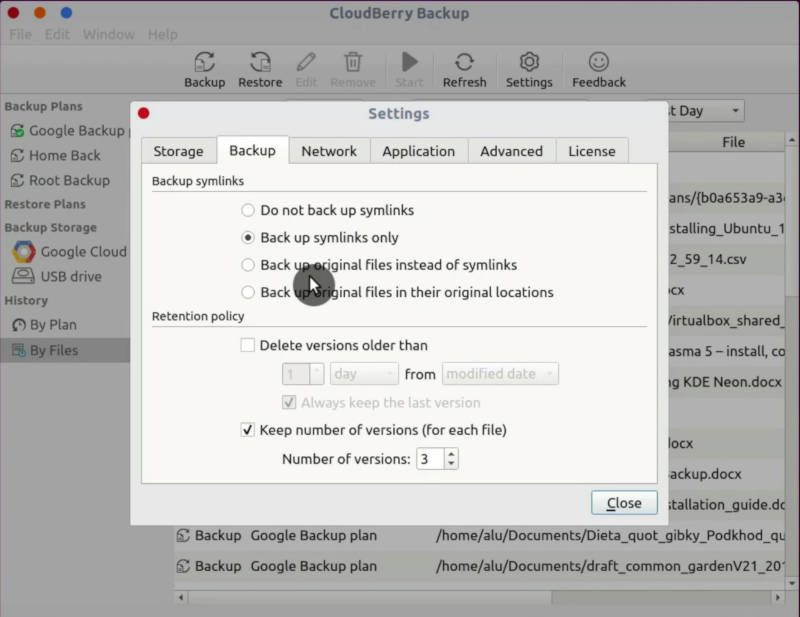
By default, Cloudberry Backup keeps 3 versions of your backed up files. You can change these default settings, and you can also decide how to handle files that have been deleted locally. For example, you can delete files from Google Cloud 30 days after they were deleted from your computer.
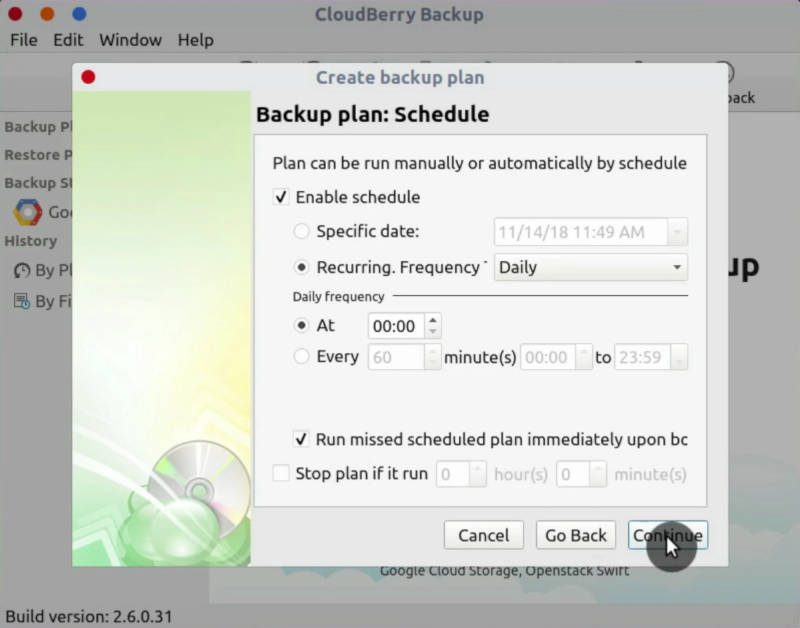
Schedule
Next, you define the schedule for your backup plan. I usually back up my files Daily at midnight. I also very like the feature to run a backup if the scheduled time was missed. With this option enabled, Cloudberry Backup will back up your files next time you boot your computer.
We have set the schedule for block-level backup above, but this way only the differences between new and old files will be backed up. However, to make your backup plan safer, CloudBerry also recommends making a Full Backup from time to time. This is when you backup all files completely, not only the differences. I do full backups monthly.

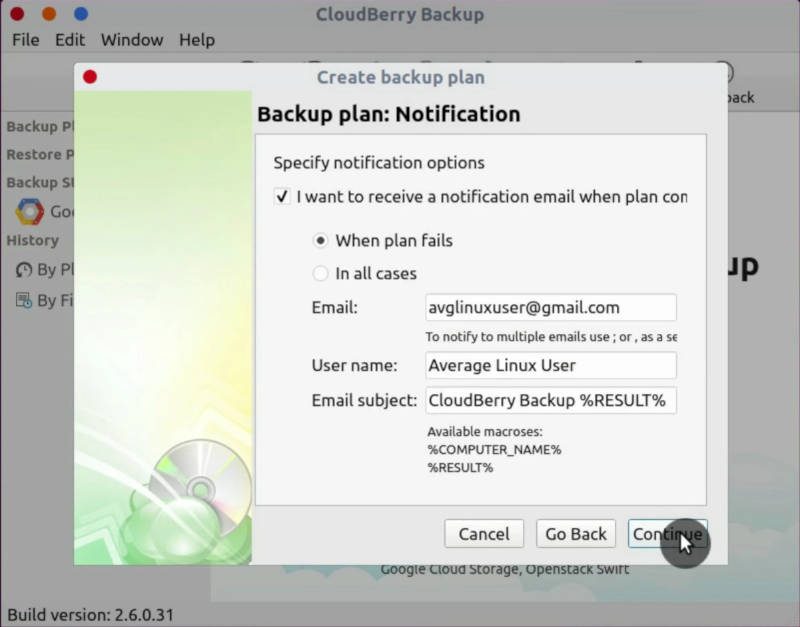
Email notification
Next, you can also enable email notification of executed backup plans. I usually enable notifications only when a backup fails.
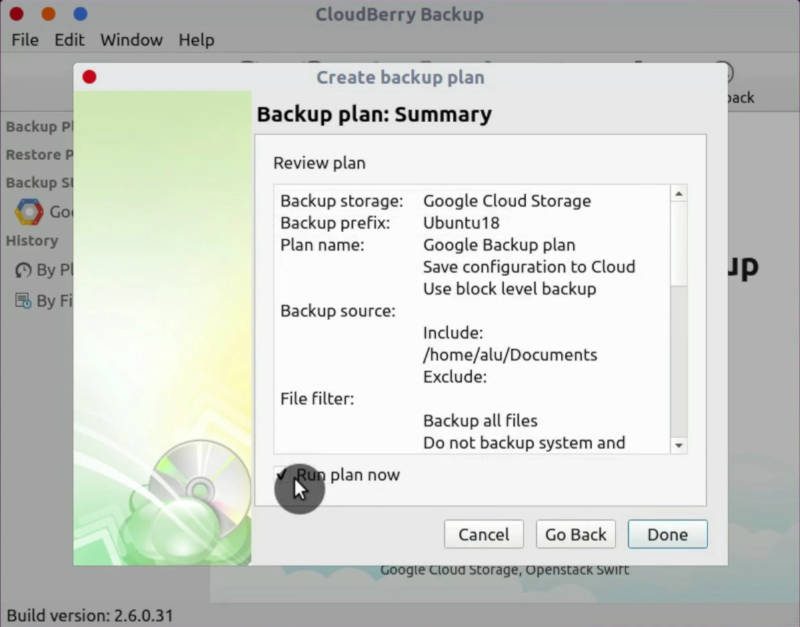
Backup plan summary
Check the summary of your backup plan. If everything is correct, you can save it by clicking on Done. You can also run the plan right after you created it.
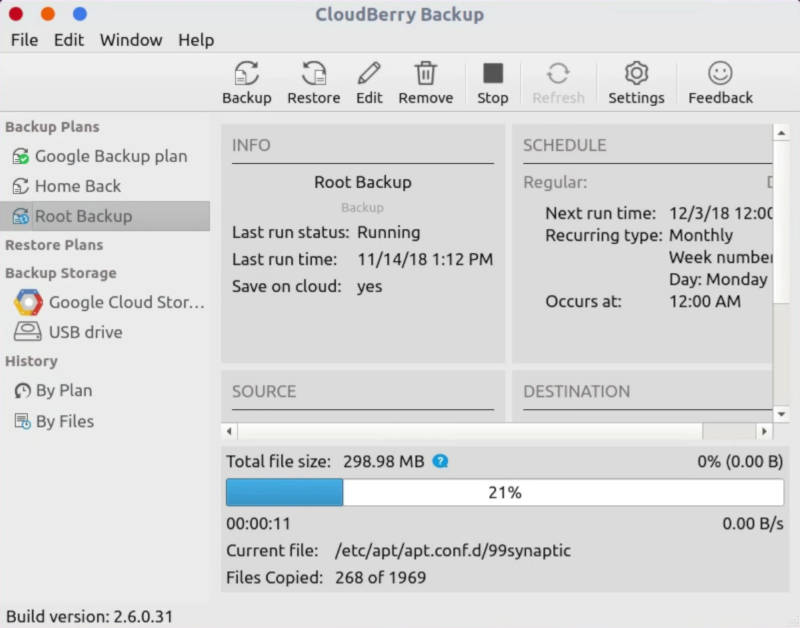
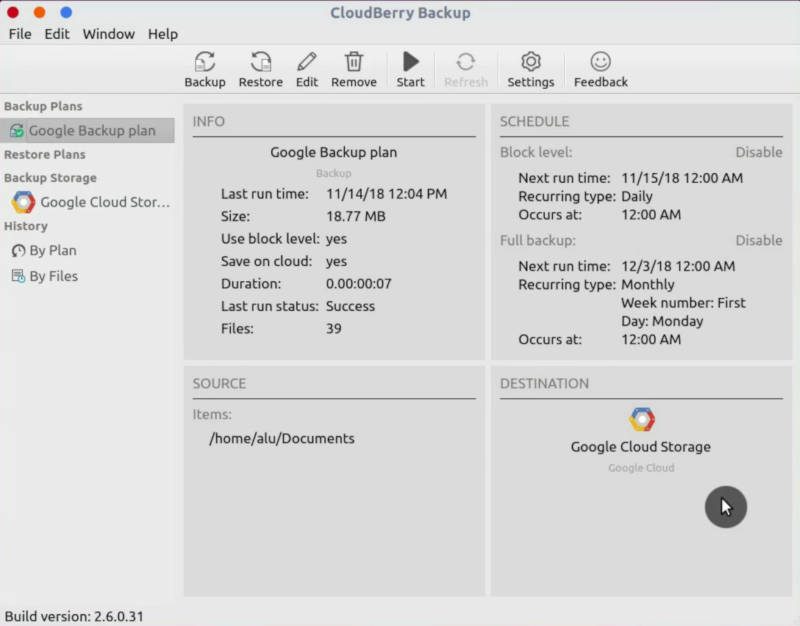
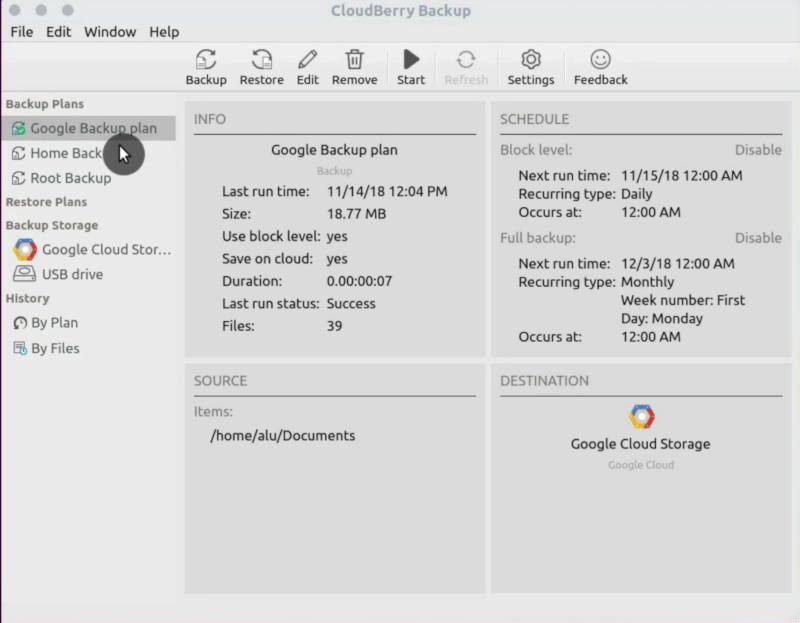
When your backup plan is created, you can have an overview of each plan in the main window. If I click on the plan we have just created, I can see some summary information including the schedule, source and destination, and what is most important when it was executed and whether the backup was successful or not.
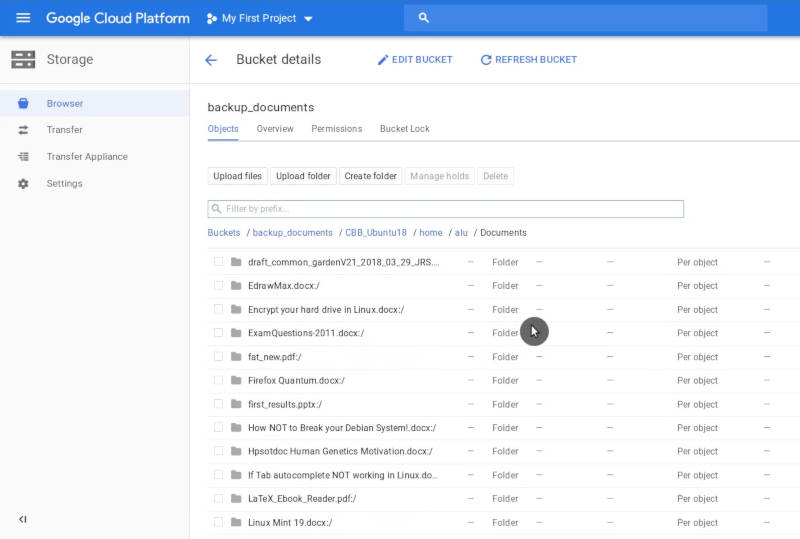
My last backup was executed successfully. If I go to Google Cloud and check the files that have been backed up to my backup bucket. I will see these files:
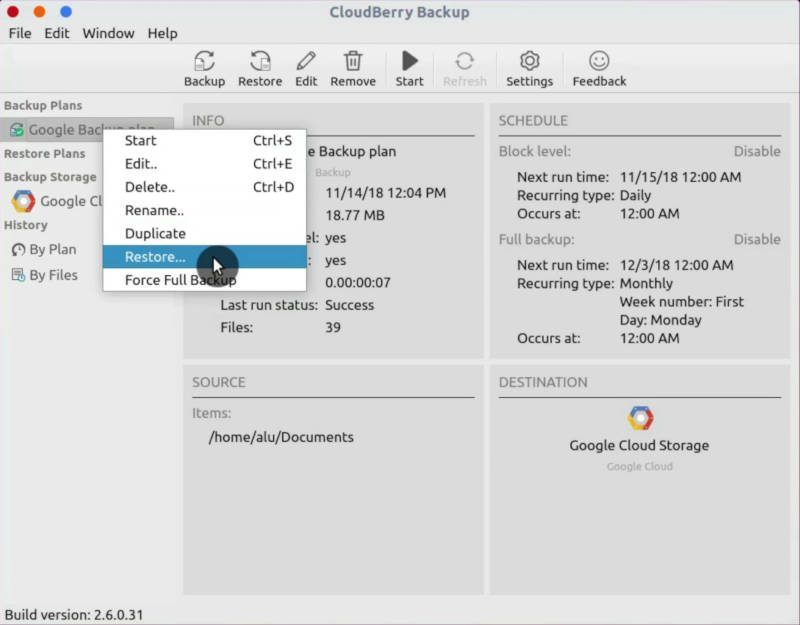
Restore a backup
I have also tested an option to restore the backup. You simply need to right-click on your backup plan and select restore.
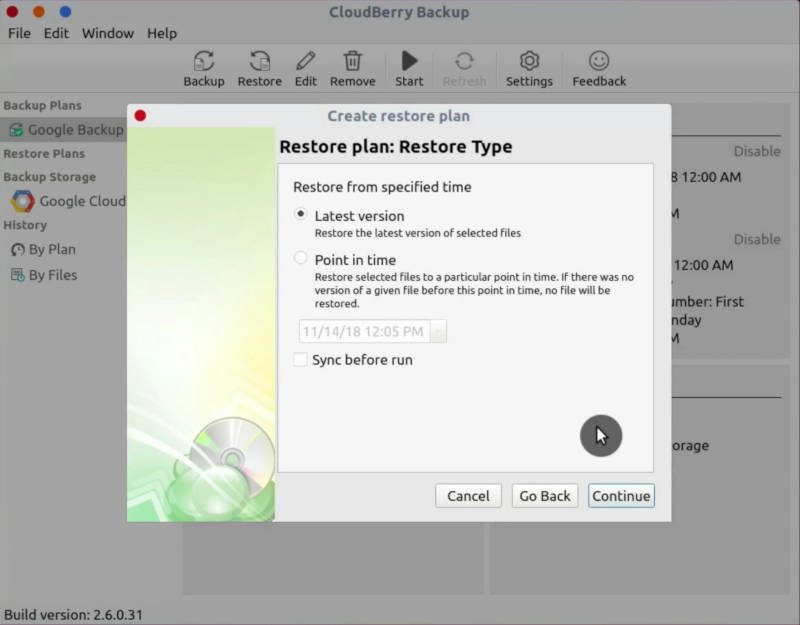
You can restore from a specific point in time.
You have a choice to restore a full folder or specific files.
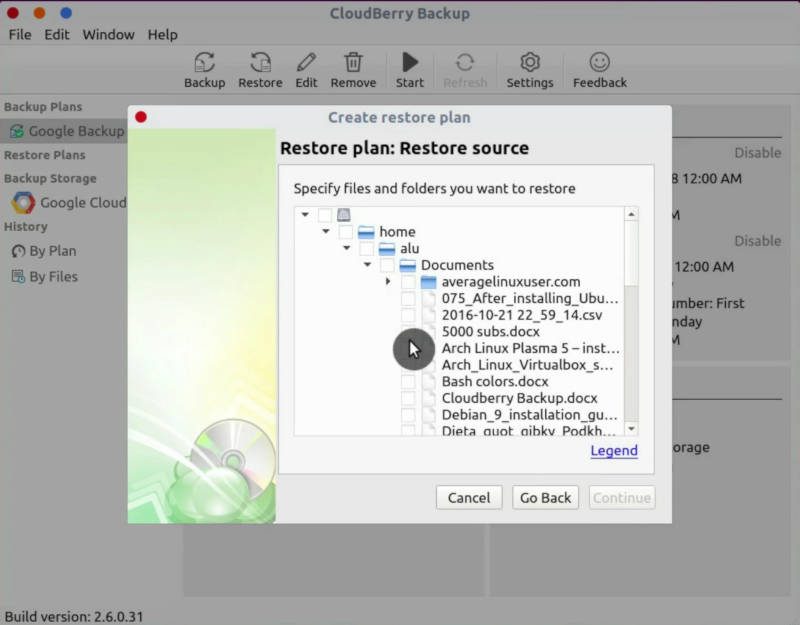
Nice to see that you can restore your backup to another location than the original location.

If you used encryption, you need to provide your encryption password.
Keep in mind, I use a free version here and I am able to decrypt my data. So, restore with CloudBerry Backup is always free. Even if you encrypted your data with a paid version and lost your license, you will be able to restore your backup.

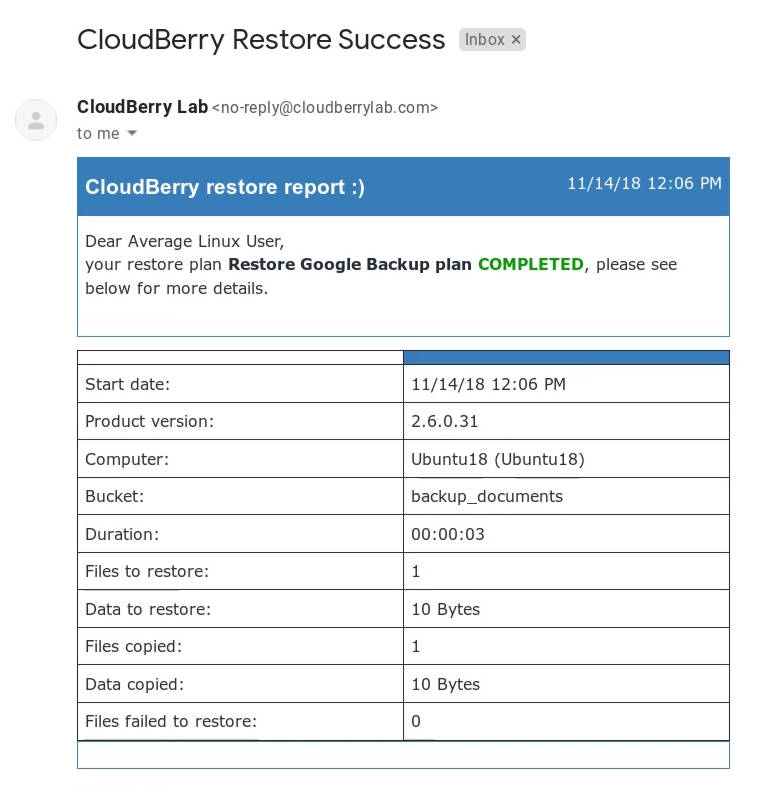
I have also tested the email notification. You can see the email notification that the restore plan ran successfully.
Interface
CloudBerry Backup for Linux works pretty well. It is a nice backup solution. The interface of the program is very intuitive. Basically, you can access everything from this left panel.
You can see your backup plans. For example, I use Google Cloud to backup my most important files daily. I also use an external USB drive to back up all other files in my home directory weekly. I backup my system files monthly.
You can also find your storage locations in the left panel. The history of your backups is also avalible in this panel and you can view it by plans or even by files.
Symlinks and web access
Among the unique features of CloudBerry Backup for Linux, I would also like to mention that CloudBerry Backup has all possible options to handle symlinks. To make sure you retain all your data and do not forget to back up symlinked files, you can back up original files instead of symlinks, or even Back up original files in their original locations when CloudBerry Backup encounters a symbolic link.
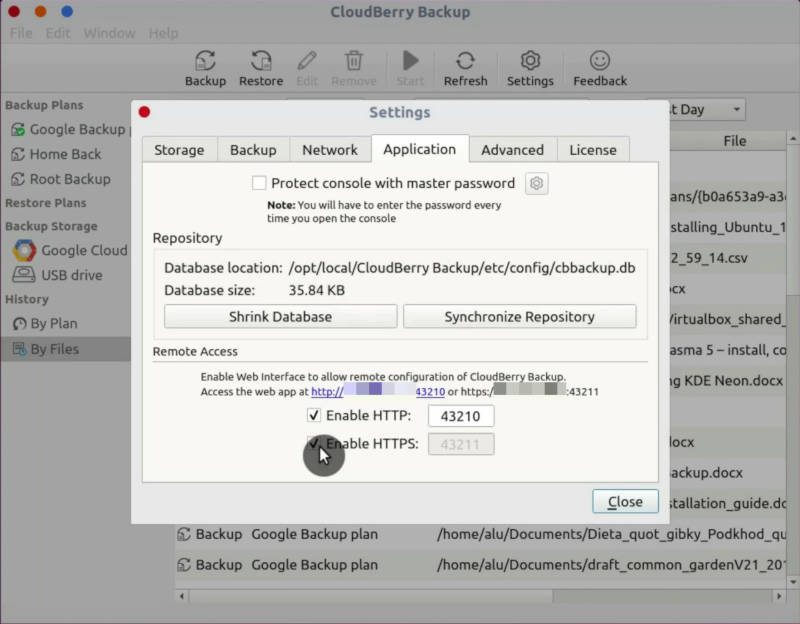
You can even enable remote access to CloudBerry Backup for Linux through the web interface. Just make sure the port indicated in this window is open in your firewall settings and you should be able to access CloudBerry Backup from the web browser by following the provided link.
What do you think about CloudBerry Backup for Linux?
Give a try to CloudBerry Backup for Linux and let me know what you think about it. Don’t forget that you can get a 50% discount for a CloudBerry Backup PRO Personal license.
You can also make a backup in Linux with open-source command line tools and graphical programs.