How to use OBS to create screen tutorials?
Have you ever wondered how to record a screen tutorial on Linux? Stick with me to the very end to learn how to record screen tutorials with Open Broadcaster Software (OBS), the most feature-rich recorder app for Linux!
Content
OBS in action
You can watch all the OBS features in action in this YouTube video:
Why OBS?
In this post, you’ll learn about the most fundamental feature in OBS - sources. What they are for and how they can be configured to record a screen tutorial.
But first, let’s start with a bit of my background and experience with OBS. I’ve been running Average Linux User Youtube channel for four years now! For three years, I used three separate apps to record a single video:
- SimpleScreenRecorder (to record desktop)
- Audacity (to process audio)
- Guvcview (to record webcam)
Then I combined them in Kdenlive. Now I only use OBS which does all these three things together and produces only one video file. I especially like that it processes my audio on the fly.
OBS is a free cross-platform recorder so you can use it on Windows and macOS as well. Not only does it record videos, but OBS is also great for streaming. So, it comes as no surprise that it’s hugely popular on Linux and you will find it in any distros’ software centre.
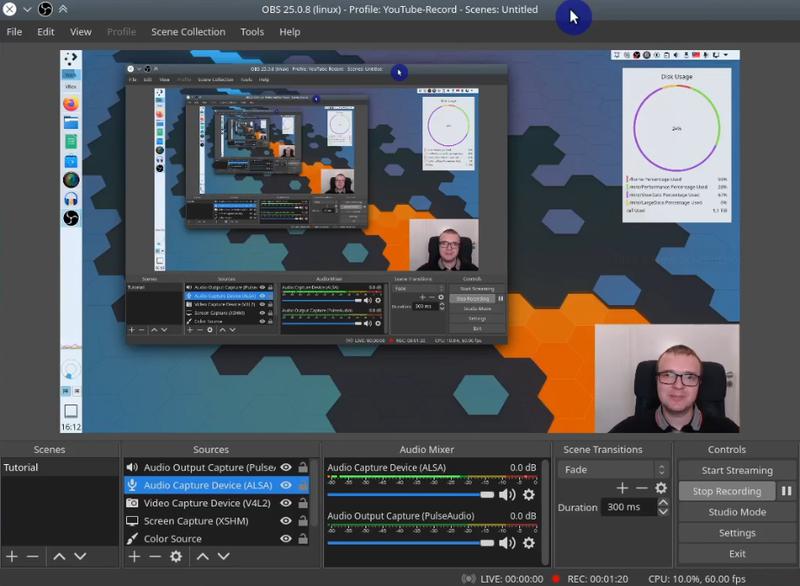
OBS Basics
As I previously mentioned, OBS can record desktop, audio, webcam and a whole lot more. We can enable these features by clicking + button in the sources tab:
- Color Source (green background)
- Screen Capture (records desktop)
- Video Capture Device (records face)
- Audio Capture Device (records audio)
- Audio Output Device (records desktop sounds)
Screen Capture
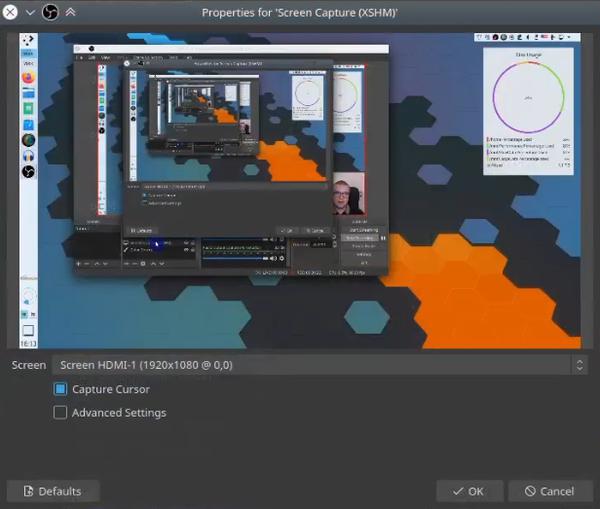
Screen Capture source records the desktop. Its options can be found by right-clicking on it and going to Properties. You can choose which screen to record if you have multiple screens and whether the cursor should be recorded.
Video Capture
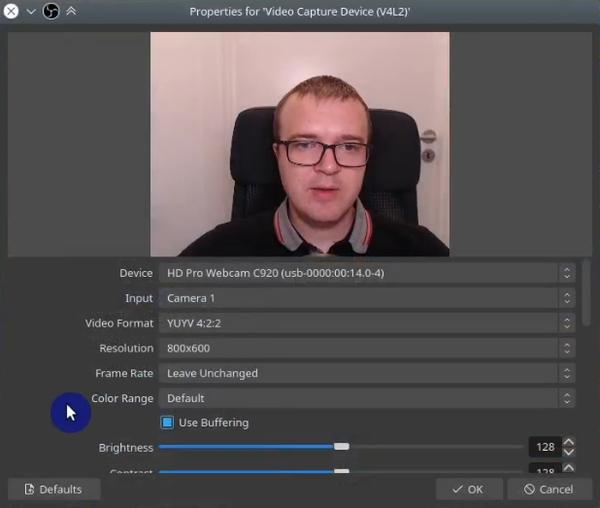
Video Capture Device records face and includes a lot of options which allow us to configure any aspect that comes to our mind.
- Device
- Resolution
- Filters (e.g. Brightness, Contrast)
- Zoom
I usually keep all these settings at default for my Logitech C920 webcam except the zoom. I zoom in 120\% to get myself closer in the webcam view.
Audio Capture
Audio Capture Device is responsible for recording our voice.
It includes the following options:
- Device (if you have multiple microphones)
- Rate
However, it does have several Filters to customize your voice recording. Filters is my favorite feature of OBS that I use to make my voice recording clean without post-processing in Audacity.
Below, I describe the filters I apply when I record my videos with Samson Go USB Mic.
Noise Suppression
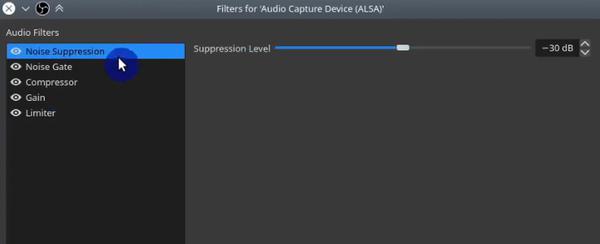
Noise Suppression is used to cancel background noise. Noise Suppression with the default value of -30dB works for me. But, if it doesn’t do the trick for you, try to adjust it. However, if you set it too high, it will cut your voice altogether!
Noise Gate
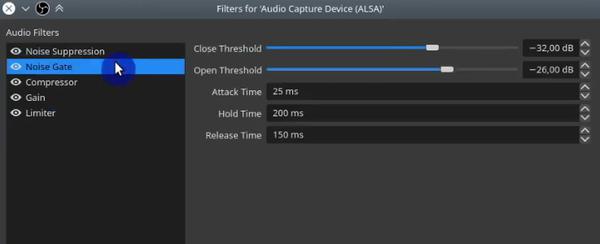
Noise Gate can be used separately or in conjunction with Noise Suppression. As the name suggests, Noise Gate works as a gate - won’t capture the signal if the signal volume is below a certain threshold level. Whether you should add Noise Gate to Noise Suppression depends on your background noise. If Noise Suppression alone doesn’t work, then you should add Noise Gate as well.
Compressor
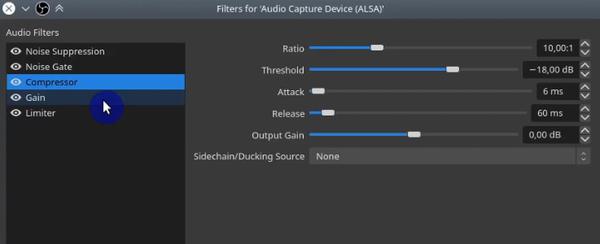
Compressor balances your voice by reducing loud noise and increasing soft voice. This is a more advanced feature which is explained in our Audacity video.
Gain
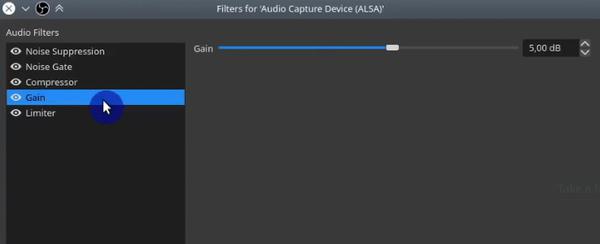
Background noise canceling filters can sometimes interfere with your voice too. By adding gain, the suppressed voice will be louder and cleaner.
Limiter

Limiter limits voice volume to a certain threshold level.
OBS’s audio recording takes the burden off my shoulders, but Audacity’s audio quality, in my opinion, is better. If you are looking for crystal clear audio, you might be better off using Audacity.
Audio Output
Audio Output Device is the last on our list but not least important. It is responsible for recording desktop sounds. The only configurable option is a device/speaker which outputs the audio. The option applies if you have multiple of them, of course. This feature comes in handy if you need to have a sound of playing media on the desktop in the video.
Color Source

Color Source is useful if you only want to record your face with a webcam. Afterwards, you can import the video to Kdenlive and use Chrome Key green screen filter to make this green colour transparent. This way, you can add an image as the background with your face on top.
Conclusion
These are the essential settings that you can use to record the videos as I do! Obviously, I am not a professional video recorder/editor, but these settings work fine for me, and if you are starting, I am confident they will work for you too! On the other hand, if you are an advanced OBS user feel free to share some tips with us in the comments section below! 👇