Cloudberry Backup for Linux Server (web interface)
With CloudBerry Backup, you can back up files and folders to any popular cloud storage. It has a nice graphical interface for desktop use. There is a command-line interface to back up your server. Moreover, you can access CloudBerry Backup remotely through a nice web interface.
Content
- How to install CloudBerry Backup for Linux
- Activate License
- Activate Web interface
- Create backup plan with Web interface
- Final thoughts
I reviewed the desktop app of CloudBerry Backup for Linux last year. In this post, you will learn how to install CloudBerry Backup for Linux on a server and configure it with the web interface.
How to install CloudBerry Backup for Linux
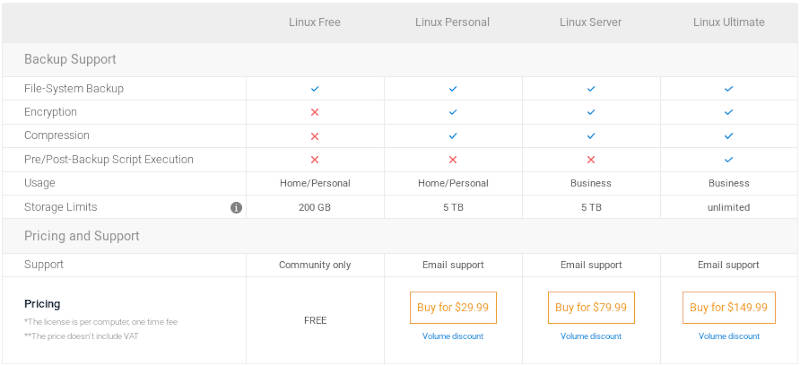
First, download the installer of CloudBerry Backup for Linux from CloudbarryLab.com. Although it says Trial on the Download button, CloudBerry Backup is Free for personal use. If you need Pro features such as encryption, compression, support, and high backup volume, you can get CloudBerry Backup Pro license for a reasonable price:
CloudBerry Backup is available in deb and rpm packages. So, it should work on most Linux distributions. Upload the installer to your server:
scp CloudBerryBackup.deb username@server:/home/username/Downloads/
Then, log in to your server and install it:
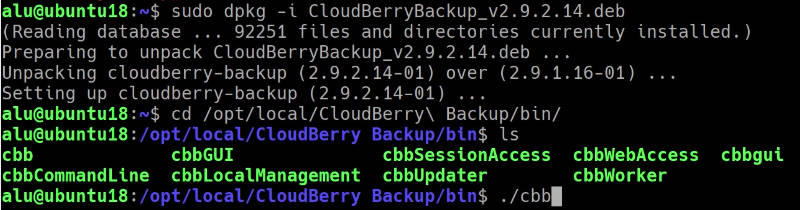
sudo dpkg -i Downloads/CloudBerryBackup.deb
Now, CloudBerry Backup is available at /opt/local/CloudBerry\ Backup/bin/:
You can add this path to your ~/.bashrc to be able to launch Cloudberry Backup from anywhere on your server. Open ~/.bashrc:
nano ~/.bashrc
And paste this code at the very end:
export PATH=$PATH:/opt/local/CloudBerry\ Backup/bin/
Ctrl+O to save and Ctrl+X to exit from the Nano editor.
Activate this path:
source ~/.bashrc
Now, go to any directory on your server and try to launch Cloudberry Backup:
cbb
CloudBerry Backup is installed and can be launched from any directory of your server.
Activate License
To see the options for license activation, run:
cbb activateLicense
You need to provide the email you used during the download and the license type.
Activate a personal trial license:
cbb activateLicense -e "email" -t personal
Activate a commercial license:
cbb activateLicense -e "email" -k "license_key"
Activate a personal free version:
cbb activateLicense -e "email" -free -un "username"
username is required to register a free version. You will get a registration key by email and use it to complete the registration of a free version:
cbb activateLicense -e "email" -free -un -oa "RegistrationKey"
After the license is activated you can keep using CloudBerry Backup with the command-line interface on your server. You can find all the available commands by running cbb without any argument or you can use CloudBerryLab website where you can find all the necessary commands. However, I recommend you to try the web interface as you will see below. It is much easier to use.
Activate Web interface
One of the advantages of CloudBerry Backup is its web interface. You can access the CloudBerry Backup program of your server remotely through your browser. This way you can use CloudBerry Backup with a nice graphical interface instead of typing many commands and looking through the command-line documentation.
Activate the web interface:
cbb option -set wa -https on
You should see the message that the web interface is activated. Now, you can open a web browser on your local computer and type the address of your servers and port 43211. Also, make sure you typed https in front because sometimes the browser fails to recognize it as a secure connection. For example, this is how it looks for my server:
https://YourServerAddress:43211/
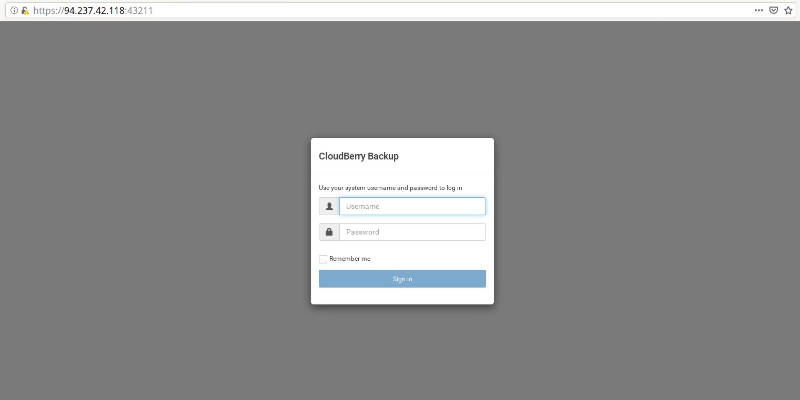
You should see the log-in page for CloudBerry Backup. If you get a warning of potential security risk from your browser, it is fine to proceed. If you use Firefox, click Advanced → Accept Risk and Continue. Use your server username and password to log in and start configuring CloudBerry Backup for Linux on your server with this nice interface:
Create backup plan with Web interface
To give you an idea of how the CloudBerry Backup Web interface works, I show how to create a backup plan with Amazon S3 storage.
You click Create New, and give a name to this Backup plan:

I also recommend activating the block-level backup. Block-level backup allows you to back up only modified parts of the files instead of running a full backup every time a file is changed. So, you save your bandwidth and reduce the backup time. This is one of the unique features of CloudBerry Backup.
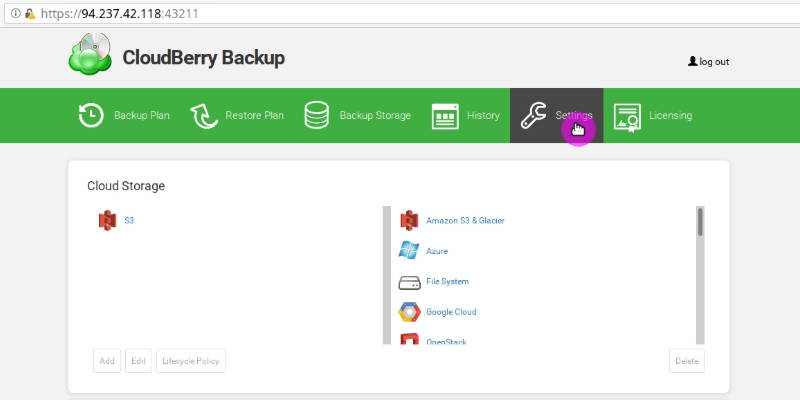
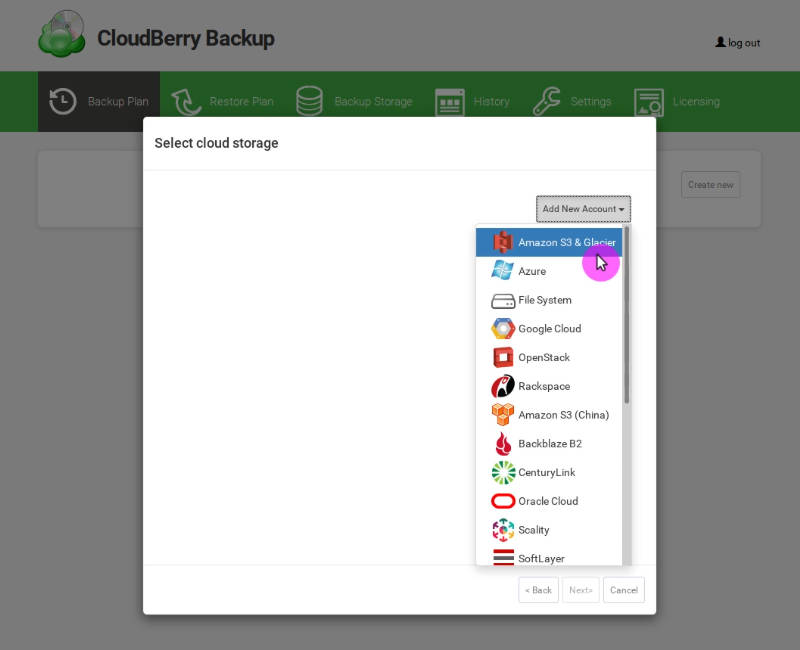
Next, add a storage account. There are many options, I will use Amazon S3:
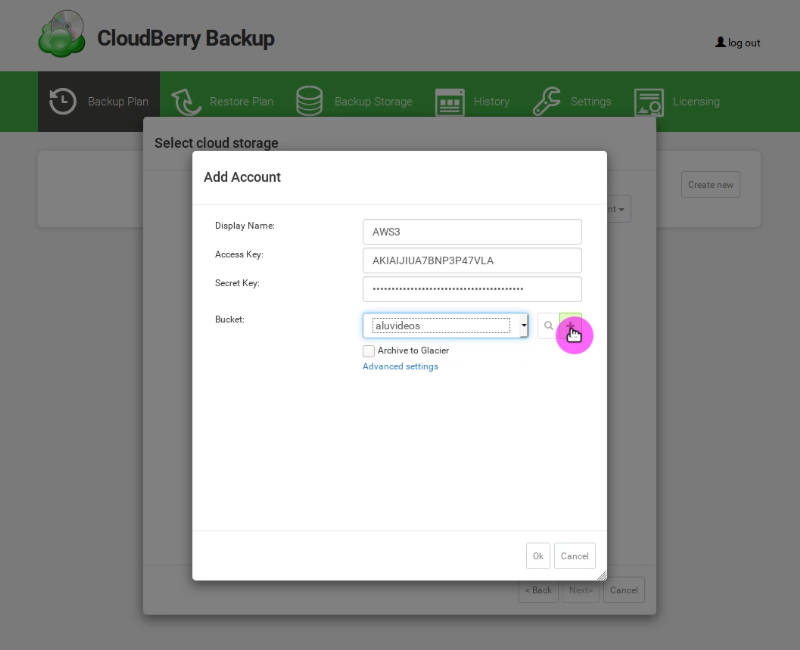
Name this storage and paste your Amazon keys:
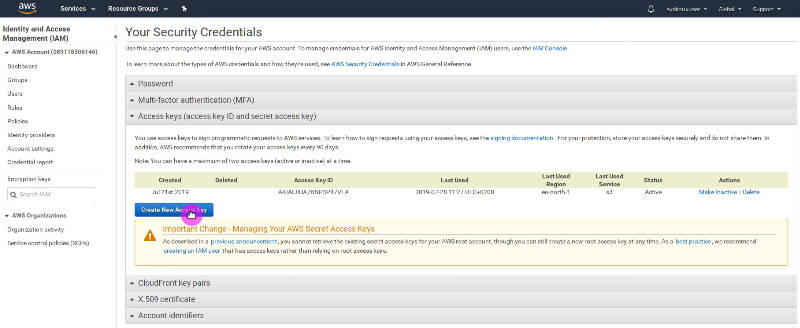
You can download your Amazon S3 keys from by clicking on My Security Credentials in the Amazon Console, then Access Keys and Create New Access Keys:
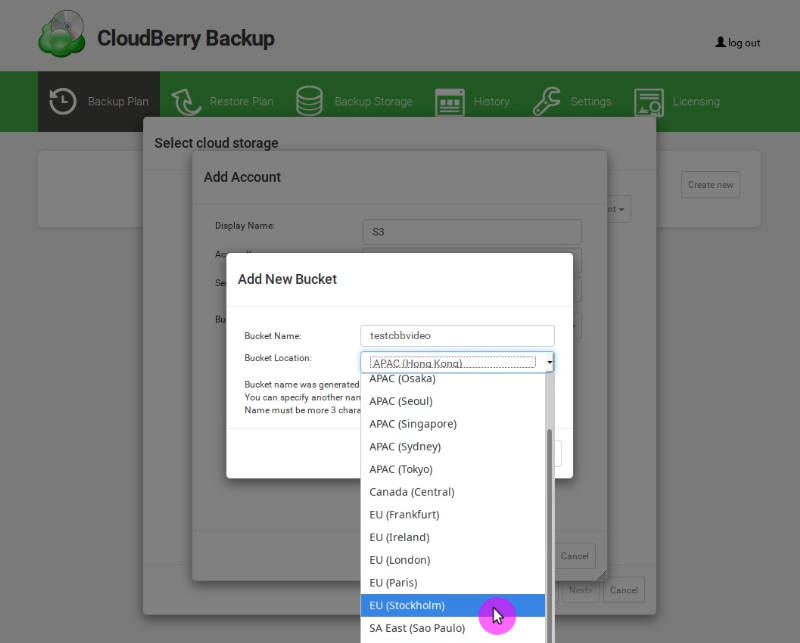
Next, you can select an existing bucket from this drop-down menu or create a new one. To create a new one, click on the add sign, give it a name and select the location:
After you have created the storage, select it and proceed.
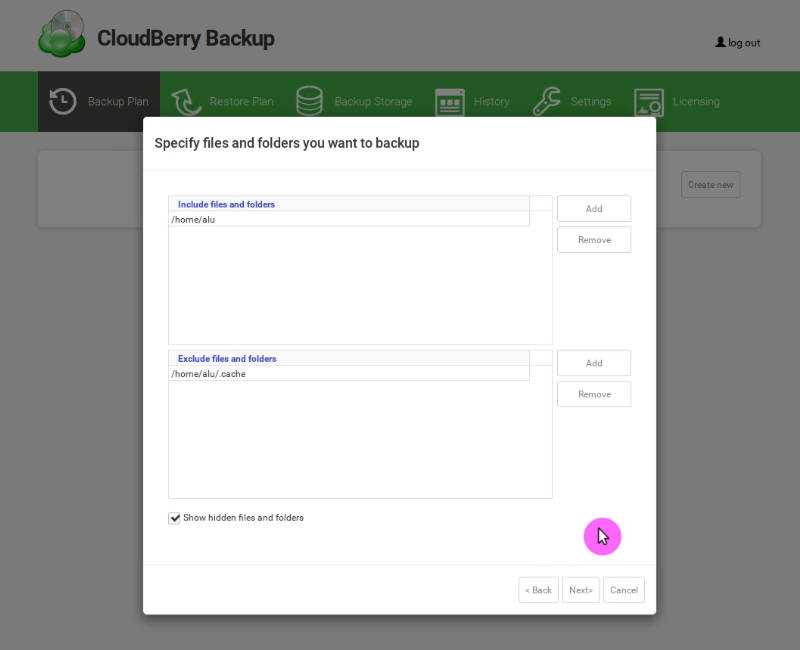
On the next page, select what folders to include in the backup and what folders to exclude from the backup. I usually backup my /home and exclude such folders as ~/.cache, Downloads, etc.:
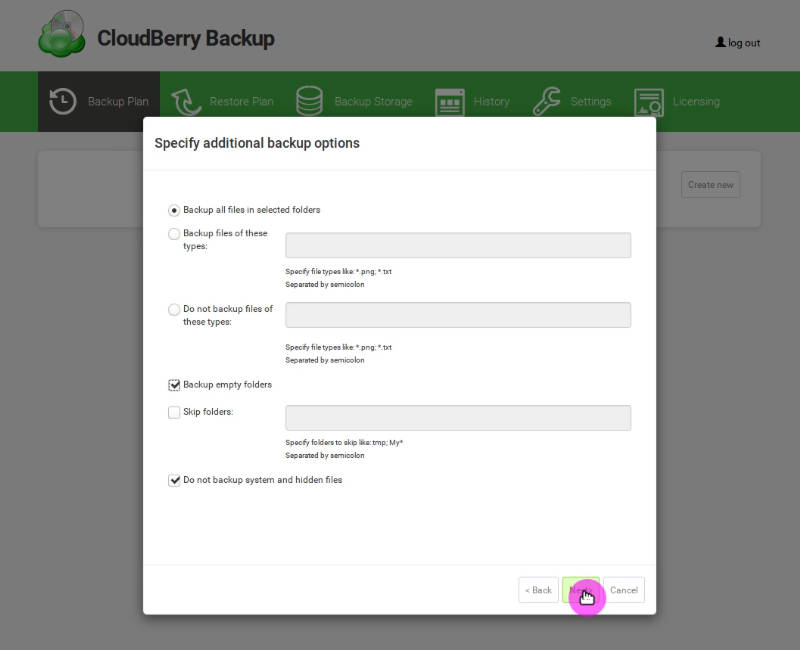
Next, you can add some filters. For example, I usually back up empty folders to keep my home folder structure:
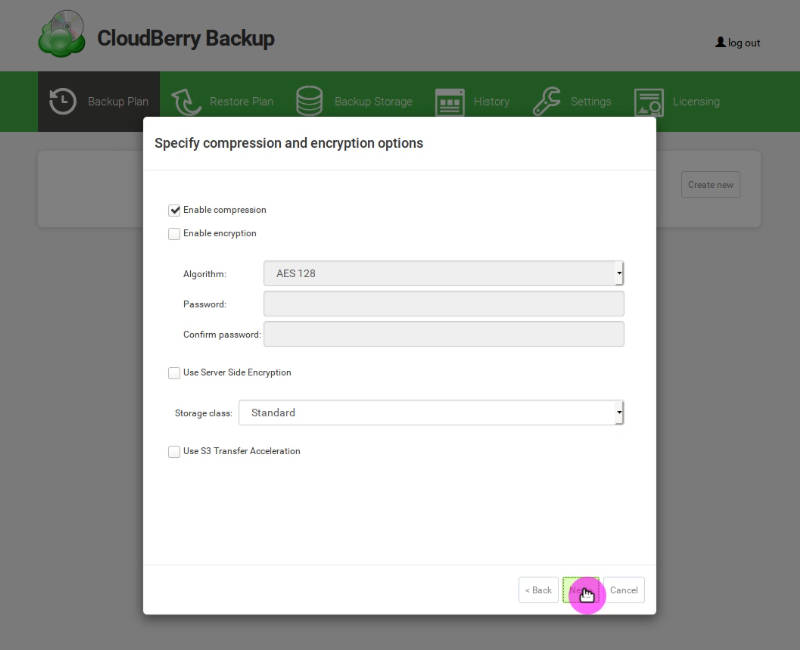
On the next page, you can enable compression and encryption if you use a Pro license. Unfortunately, these options are not available in the free version. There may also be some storage-depending settings like Amazon S3 in my case. Be careful because some of these non-default options like Amazon S3 Transfer acceleration may cost you some extra fee:
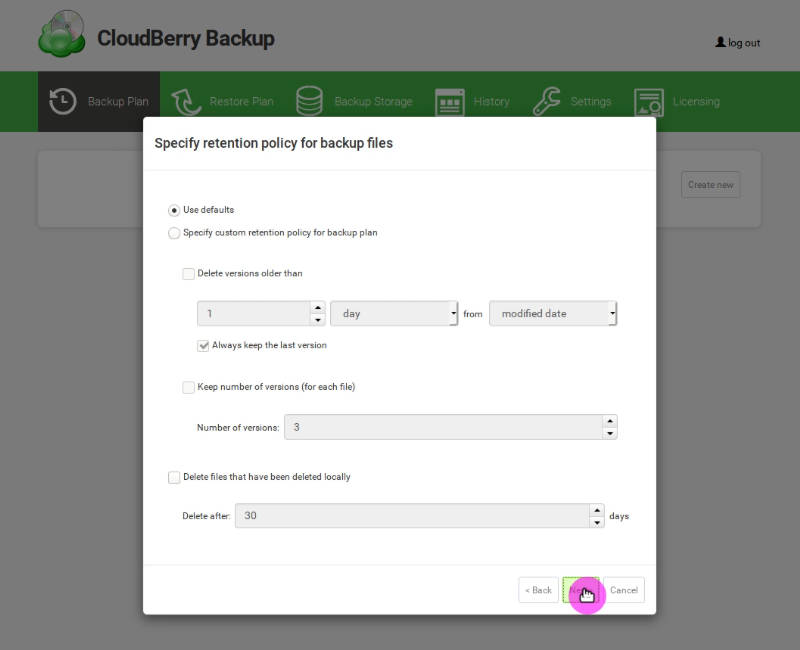
Next, define how many backups you want to create and for how long to keep them:
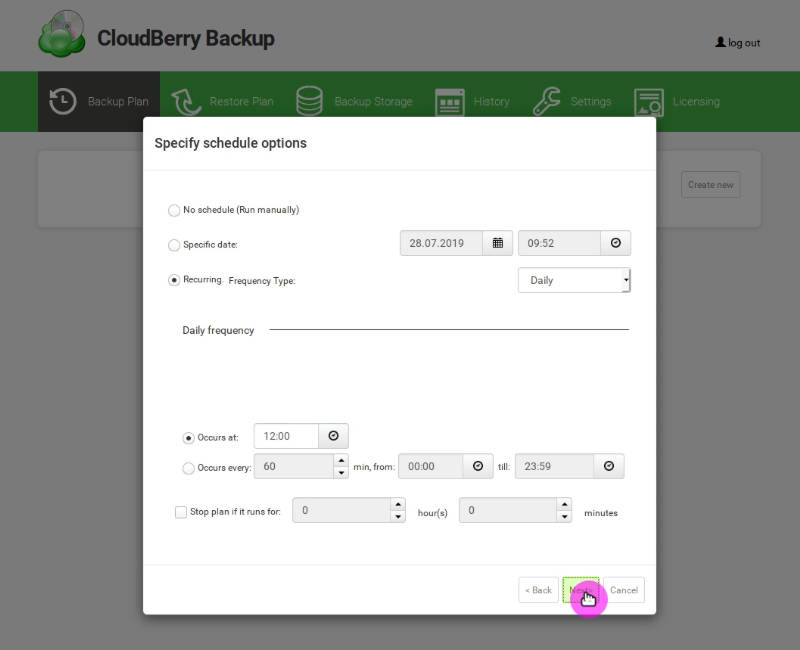
Define the schedule of the block-level backup:
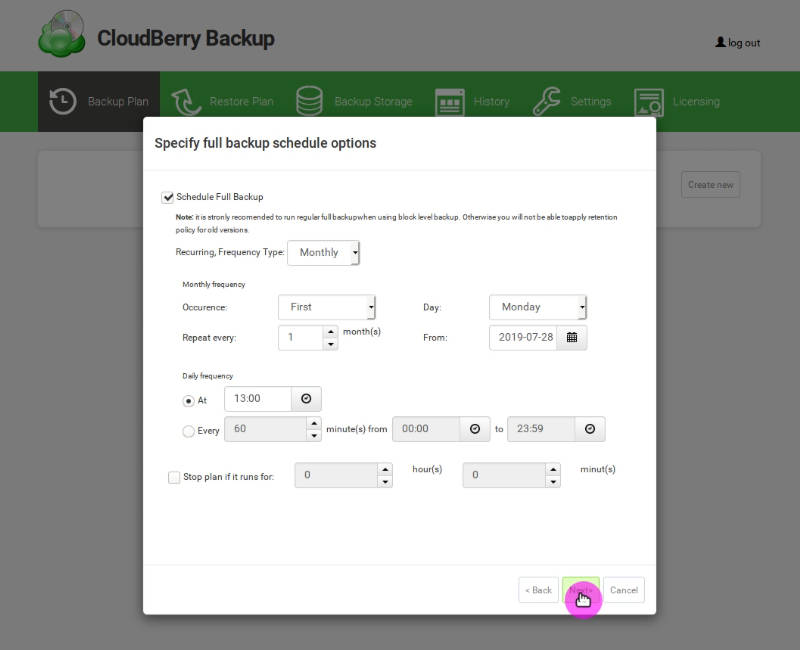
Then define the schedule for the full backup. CloudBerryLab recommends making a full backup from time to time. So, everything will be backed up, not only the differences as during the block-level backup. This ensures the integrity of your backup data.
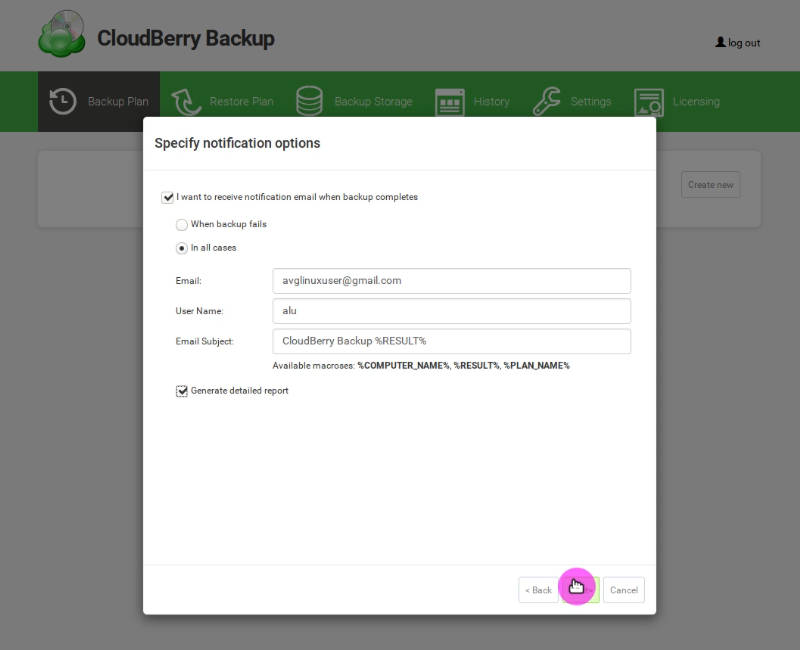
Finally, activate the email notification. I think this is essential for a server user. In the latest version of CloudBerry Backup, you can also request a backup report:
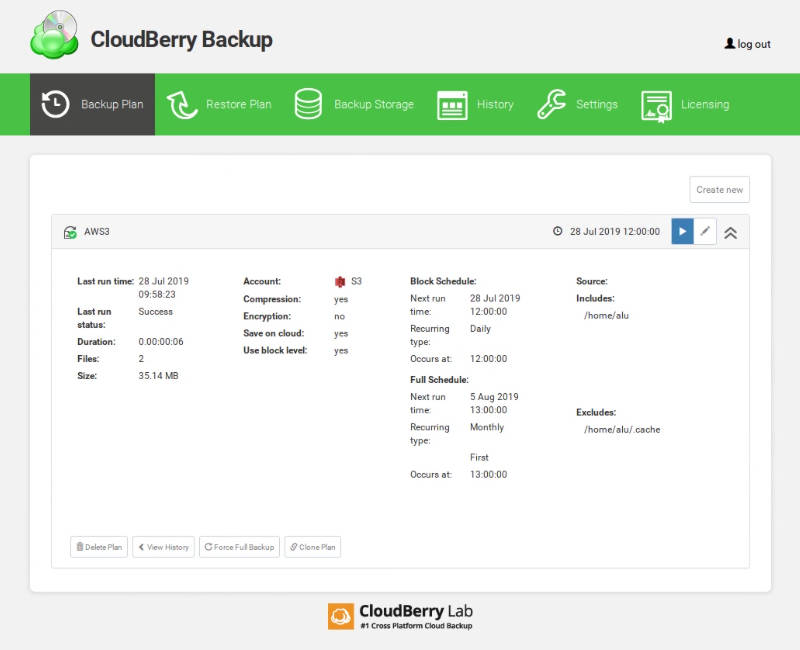
In the end, check the summary and run the backup:
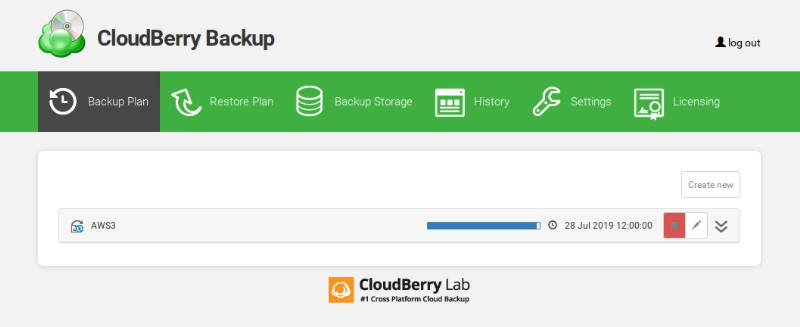
After the backup has finished, you can see the summary in the web interface, in your email (including a link to the detailed report), and you can, of course, check all the backed up files in your cloud storage.
Final thoughts
All other options available in this web interface are similar to what you would see in the desktop app I reviewed previously. So, for more details read that post where I created a backup and restore plans with Google Cloud Storage, and I reviewed all the settings of CloudBerry Backup.
CloudBerry Backup for Linux is proprietary software, and of course, you can use some open-source solutions instead. However, besides providing many unique features such as block-level backup, multiple backup plans, flexible retention policies, and compatibility with all popular cloud storage providers, CloudBerry Backup gives you an option to manage your server backup with a simple but powerful web interface. You can use it with a Freeware license, if your project is small, or you can buy an affordable Pro license.
Comments
Dan Molineaux
Never mind, i figured it out. That was not what i expected at all. It took my Linux OS username and password, i'm running this on a laptop. So the word “server” really threw me off.
Dan Molineaux
I'm stuck a the step where i activated the web server interface and then i successfully open the login to it from my browser on port 43211
What is the username and password for that one? It says in your article “Use your server username and password to log in and start configuring CloudBerry Backup for Linux on your server with this nice interface”
What do you mean by server username? My email address, or the username that i was asked for to get a free license (in command prompt)? And which password? I tried combinations of all of those and it doesn't take any of them.
Thanks